Borambola Station and a platform diorama
At the last post, I was left with the fabrication of the roof, and painting
 |
A sneak preview of the finished model. Picture taken from my backyard. Our rescue horse Sammy, has photobombed the picture, but does show a scene that would be possible with photo backdrops on a model layout. Read on to find out how I got to this stage.
|
Station building completion
 |
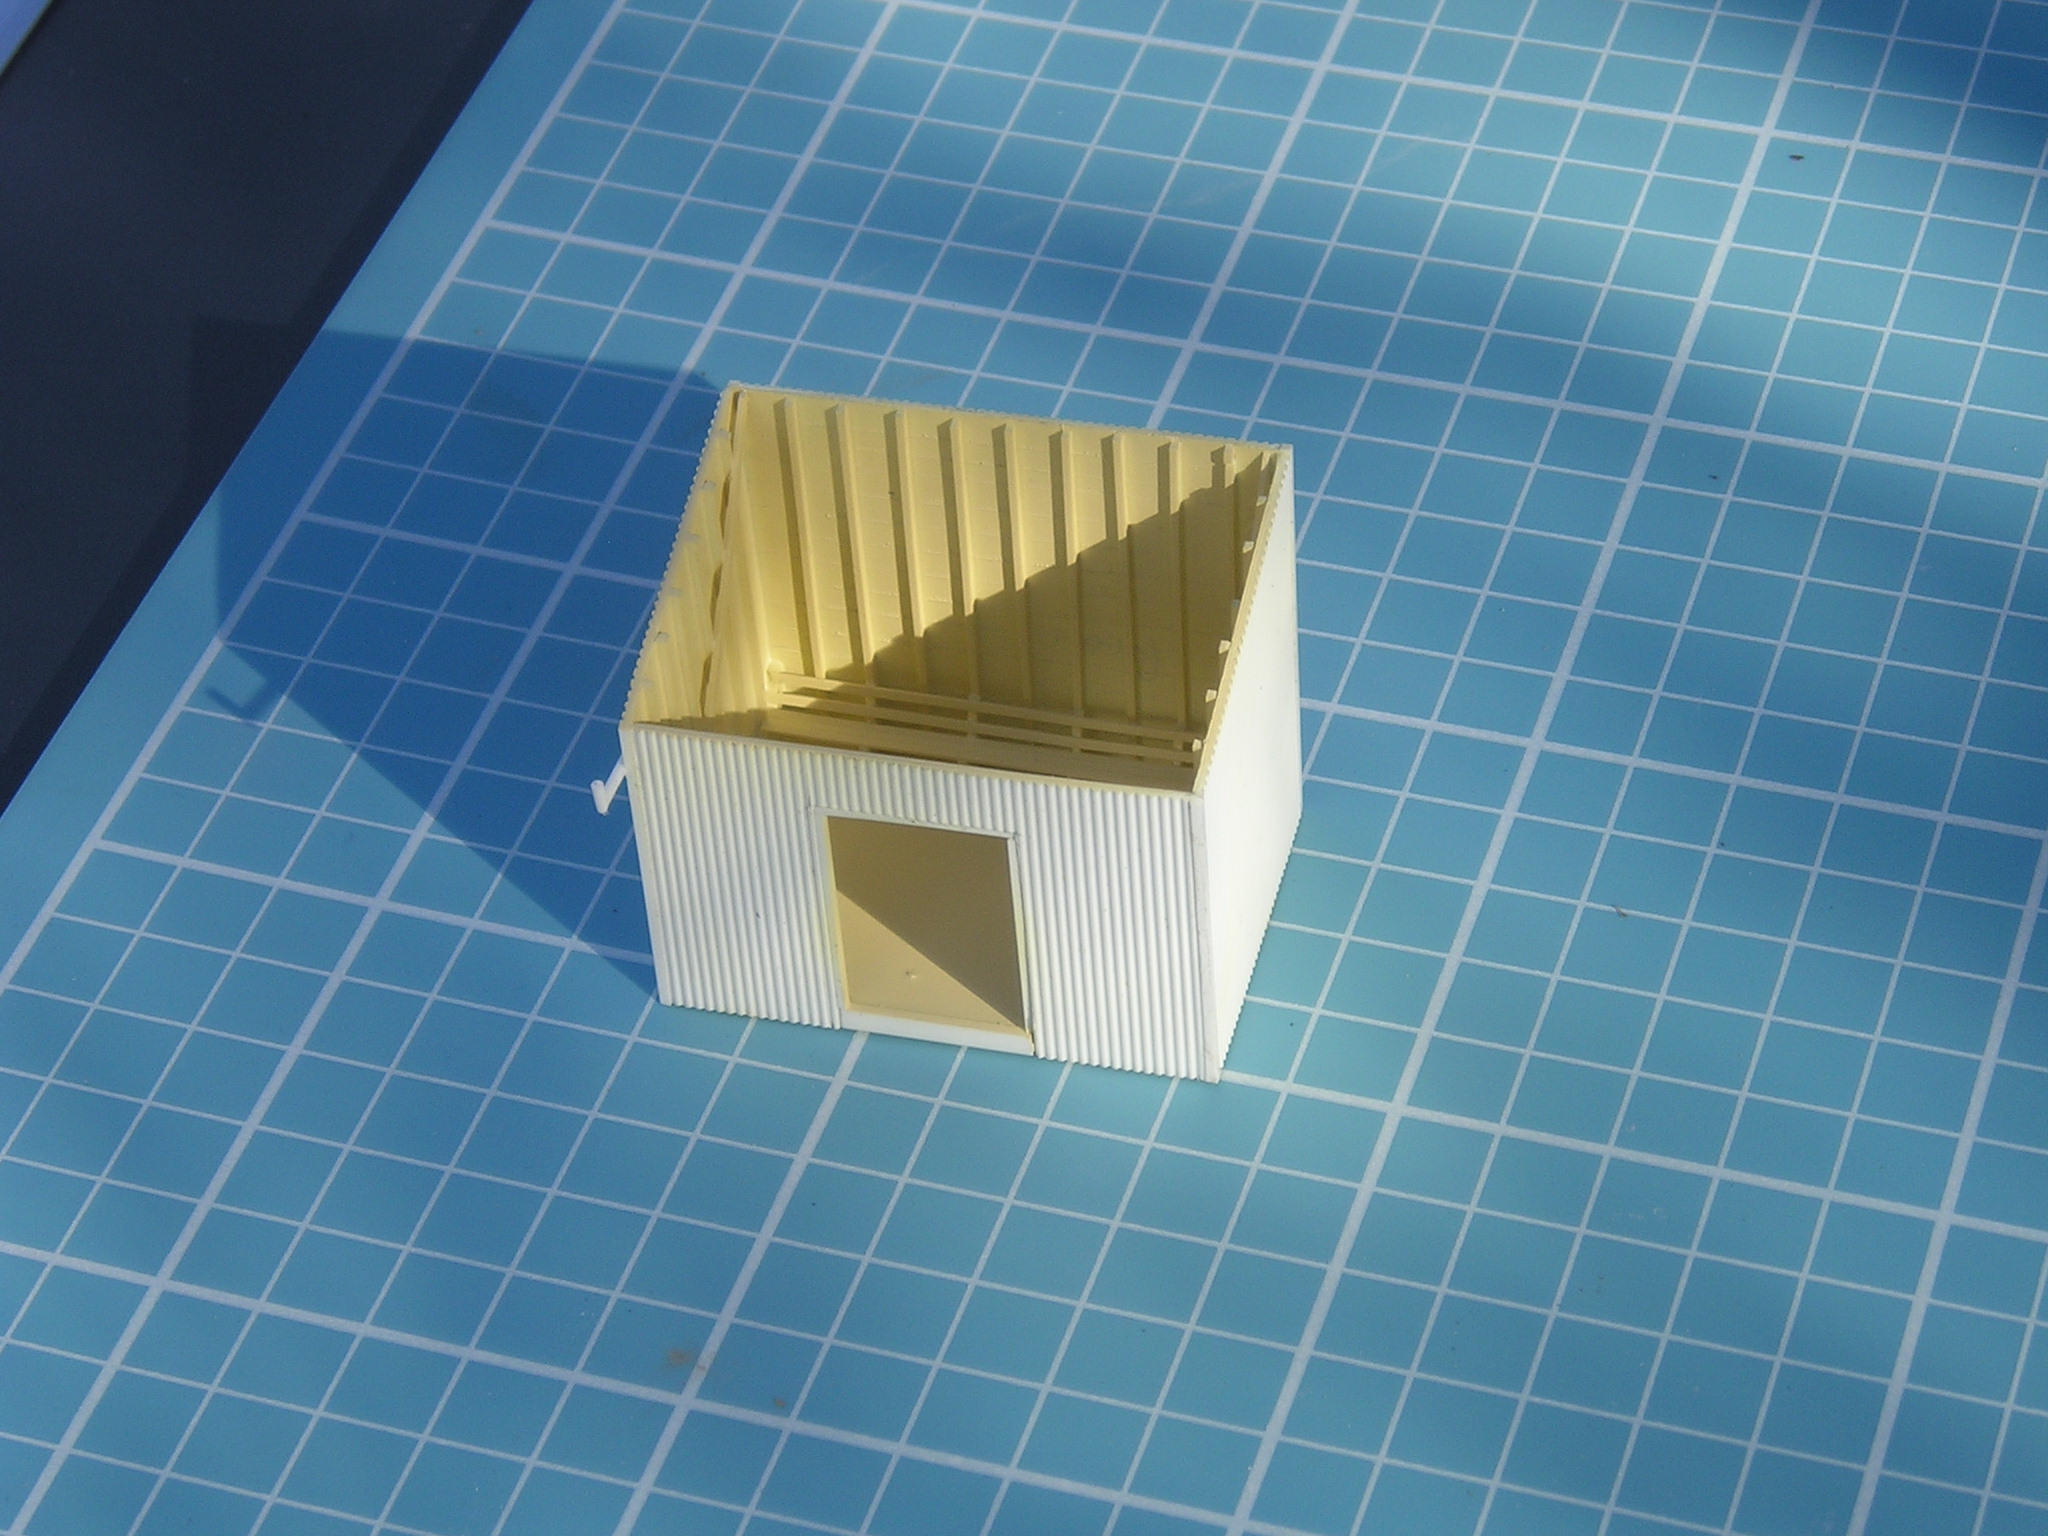
| Painting finished. Some weathering needed. The guttering downpipe is already in place, and the roof is removeable. I had to use a flash to show up the inside seating |
Finishing the station turned out to be rather faster than expected, so I decided to place it on a small diorama
Platform, and diorama
I recently made a few platforms faces, and used the small styrene platform as the basis for my model. It is shorter than the prototype, but it fitted my other criteria:- easier to store; space for the water tower, and toilet blocks; may be able to be installed as is on the future layout; and lastly, I had a piece of plywood of appropriate size hanging around.
 |
| Platform pieces assembled, and spray painted with a mix of Tamiya "Red Brown" and Tamiya "medium Grey" |
 |
| 0.040 Styrene sheet added for the platform and support. A small rebate on the rear of the platform top made to allow the station building to sit correctly. |
 |
| Station and platform with the polystyrene on the plywood surface. The track at this stage is removeable. |
 |
| I use a hot wire forming tool to roughly shape the polystyrene without too much mess. Although, the final shape is achieved with a course sandpaper, and a vacuum cleaner to suck up the white dust |
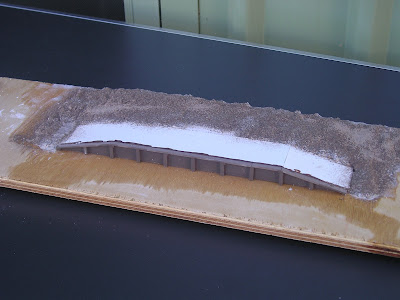 |
| Sculptamould mixed and applied to give some texture. Whilst this is was wet, some brown grout sprinkled on |
 |
| Station placed on the diorama base. |
I covered many of my scenery techniques in my series on the Bethungra N scale layout a year ago, so I am not going to repeat them here. (search for it in the search area on the top RHS of this blogpage) But I will mention, the visible white sytrene platform top is lower than the platform edge capping, which gives me around 1mm of depth for the sand layer on top of the platform
Little details
Search as I could, I could not find my NSWGR resin water tanks. So the option was to make ones own out of styrene and aluminium.
 |
| Three blank styrene discs whittled from sheet styrene. Then Brunel Models corrugated iron making tool used to make the tank, and progressively rolled around smaller and smaller diameter tubes to get it sized right |
 |
| Strip styrene used for the base. Tank painted with Tamiya flat aluminium |
 |
| Downpipe off the station will be fitted once the tank is installed on the diorama |
The station was reported to have the station name over the doorway. I was not sure what size it needed to be, so I made a small word document with different sized fonts, and printed it on paper. Styrene cement used to glue the paper to styrene, and I had 2 signs to check
 |
| Both signs would be suitable, although the larger sign was selected |
Finally the photos
Tuesday was the last day of winter, although I suspect spring came early. The canola fields in the background has been out for around 3 weeks. I set up the portable table in my backyard, and used the sunlight to illuminate the scene. The only tweaking I have done, was cropping the images.
 |
| Weathering on the station, but none on the water tank. This will be corrected when I also fix the unwanted angled water tank deck. The station platform top is fine sand, with a dusting of earth coloured plaster - TUFT brand which hasn't been available for over 30 years. Grass foliage is Woodland scenics, and Faller. (I must learn how to do static grass at some stage.) |
 |
| A railmotor provided the passenger service on the Tumbarumba branch to 1974. The angle of the sun in this picture would be correct for the prototype station in late afternoon. The CPH railmotor is a Samhongsa brass import imported by Bergs Hobbies over 30 years ago. |
Hope you all are staying sane during this lockdown. Stay safe, and build a model or two.
Until next time


Rob,
ReplyDeleteGreat modelling and photos. Sammy's presence in the photo definitely adds to the realism.
cheers Phil
If I was trying to pose a horse in the background, I would have failed. Agree, and she is also pretty right for the forced perspective - although a blurred backscene was unavoidable for the simple camera I used. Thank you for your comments
DeleteBrilliant! Another example of a great little project done well.
ReplyDeleteThanks Phil. the project sort of had a mind of its own, and headed in a direction that I hadn't initially anticipated. I too was rather pleased where it led.
Delete