Construction update for the Wagga Wagga Station (oct 2020)
How do you eat an elephant? One bite at a time.
I always knew that the Wagga station building would be the single most involved model on the entire layout. So how do you go about it?
Mark Twain offered an amazing short explaination
"The secret of getting ahead is getting started. The secret of getting started is breaking your overwhelming tasks into small manageable tasks, and starting on the first one."
Well, this is the philosophy I am following.
 |
Both front sections of the station have similar doorways behind the front facade. This one opens on the veranda on the RHS.
|
 |
To assist with the arch shape, I made a template from brass. The hope was that all the arches would be consistant if I used the brass as the pattern.
|
 |
I used a Ross Balderson technique in cutting out windows, (In his book "All Stations to Central") of using a rotating drill in a dremel, and grinding out the basic shape. Finishing up with a sharp scalpel, and files. Cutting arches into the styrene was particularly tricky. And yes, this is a messy technique. .
|
 |
Two layers of 0.040 thou styrene for the doorway.
|
 |
Adding the brass template gives the shape of the arch over the doorway
|
 |
| Styrene arch made from 0.020 thou sheet. |
 |
The top of the arch was wrapped with a 0.010 x 0.040 styrene strip. When the sytrene cement dried, a further 0.010 x 0.020 strip was added inside that strip to bulk up this detail. I think this is be the limit of the styrene technique, as the extra complex curves within the arch would be very difficult. And, when I get the veranda roof on, probably not visible from normal viewing angles. Of course, if I was working with CAD software and a 3D printer, then such things could be possible
|
 |
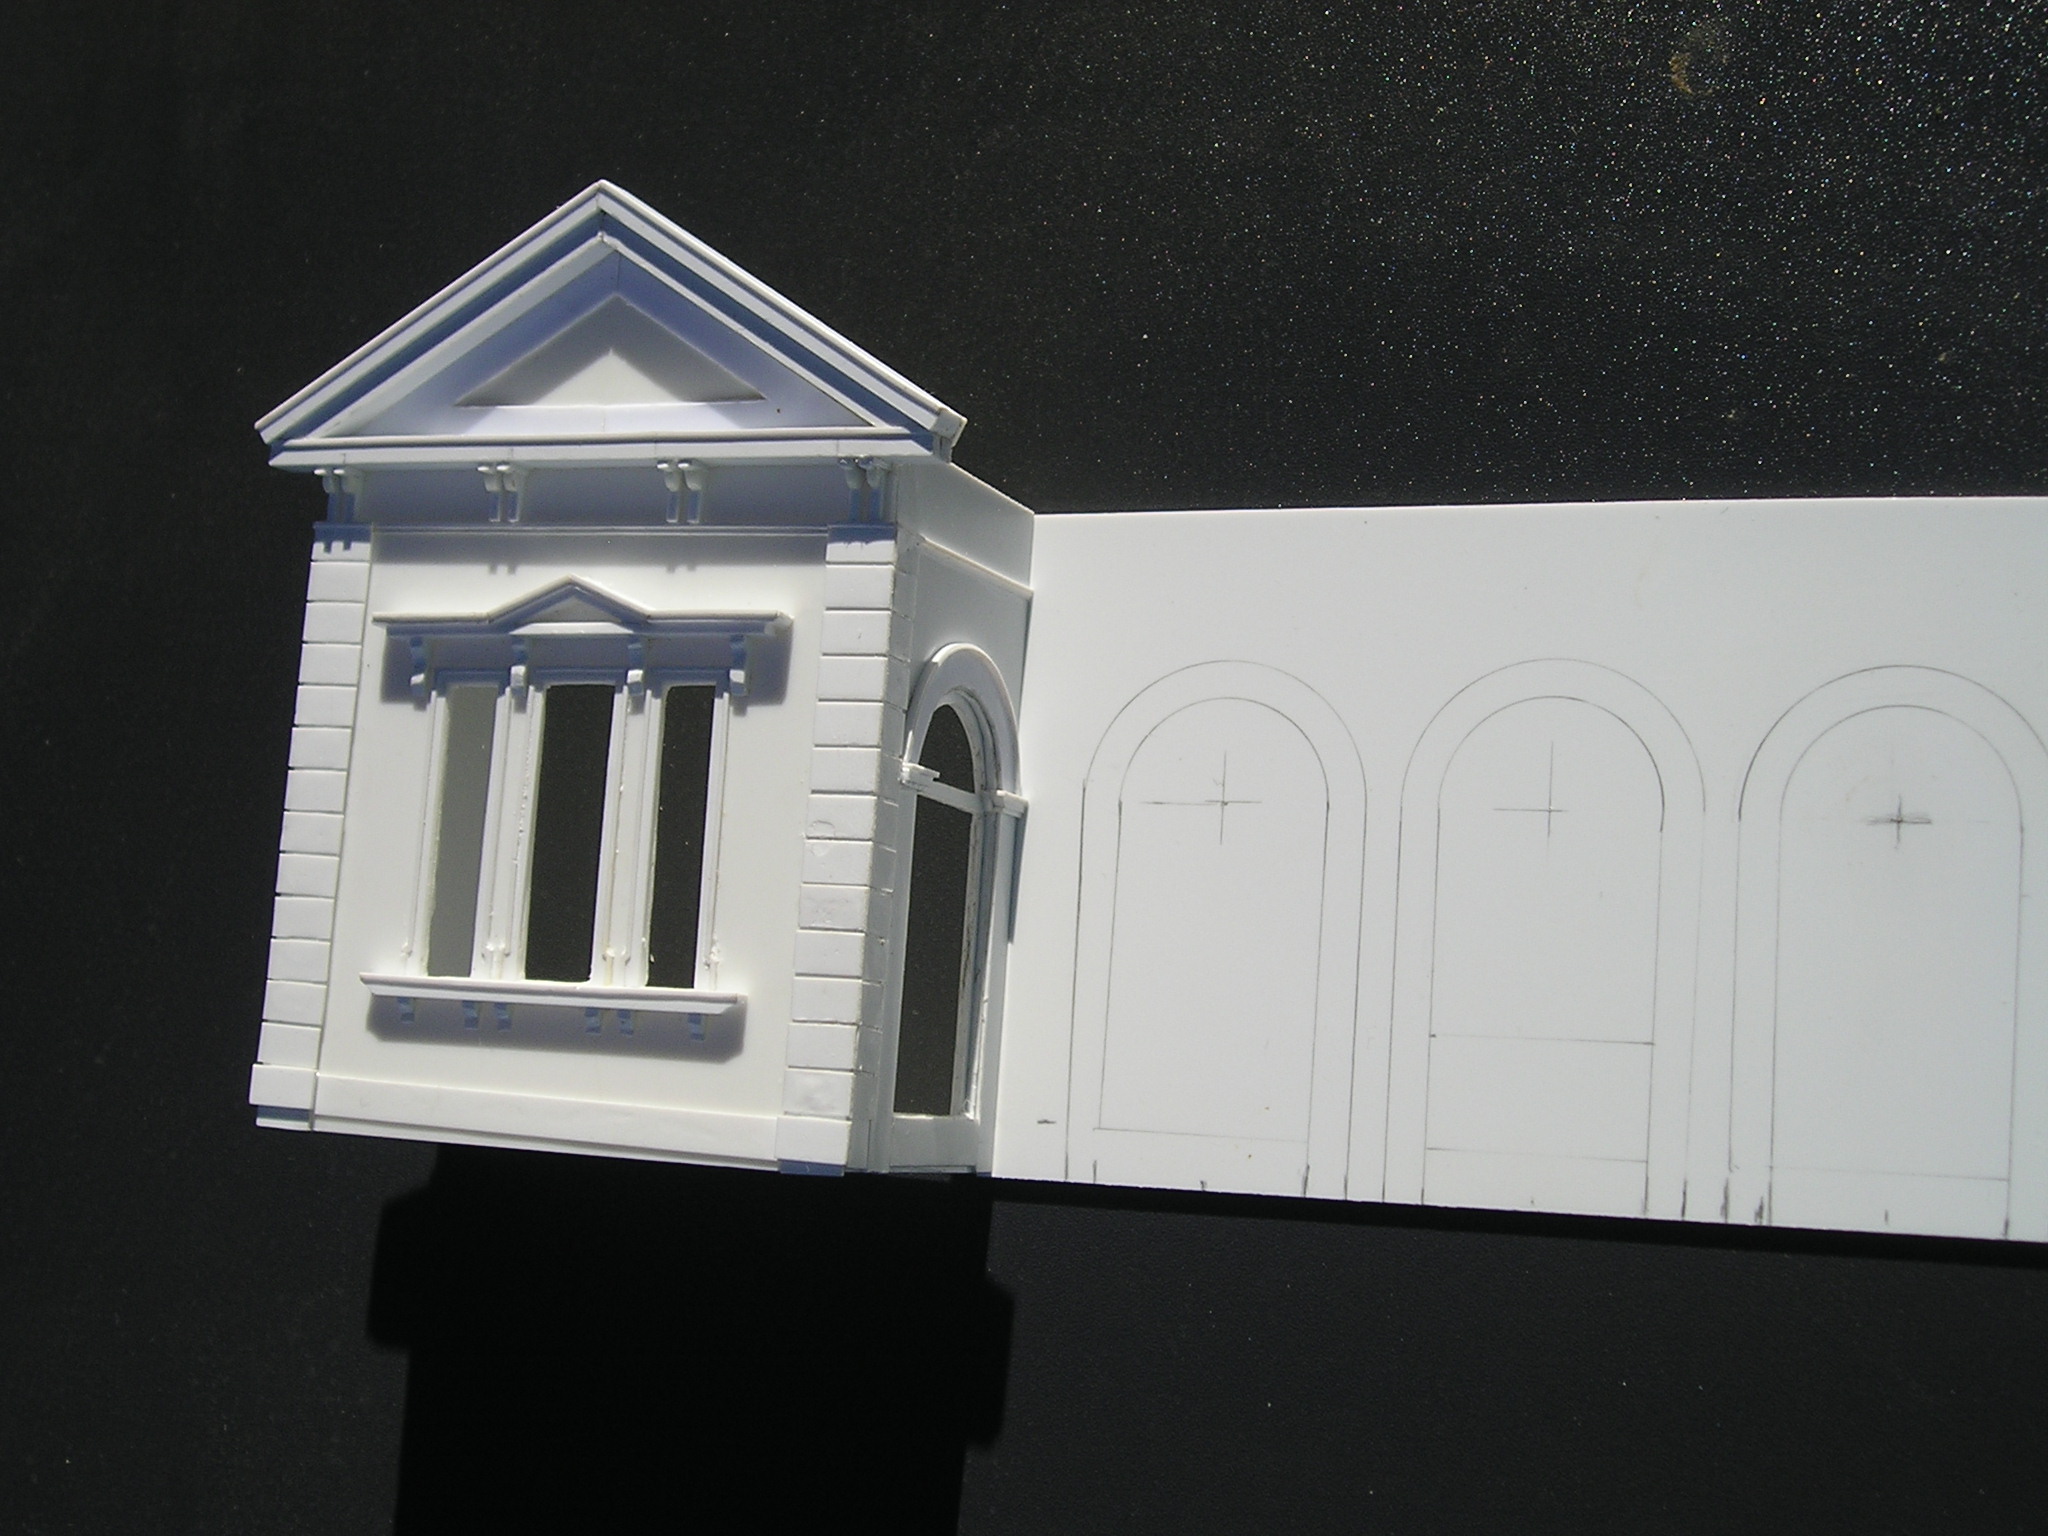
Once added, the 3D effect starts to evolve. The 3 arches, opening onto the waiting room have been penciled onto a styrene sheet for effect, but not attached at this stage.
|
 |
To get some idea of the station size, a 530 x 77mm rectangle of 0.040 styrene was cut for the main floor, and the front pair of walls positioned, along with the waiting room entrance wall. This will be one LARGE station building. I have done this too to judge if my proportions look correct to the eye.
|
 |
Closeup of the main entrance. Yes, there is an error in the vertical on the join on the RHS of the waiting room wall, with the RHS structure, which the camera picked up, but I didn't until I viewed this picture. Must be caused by bad modelling, or perhaps the RHS structure is not square to the ground, or perhaps a bit of styrene bowing. Hopefully correctable. Taking pictures of your work is often a way of seeing errors that are otherwise missed. BTW, I am not planning to attach these sub assemblies to the main station until I get the rest of the station walls finished, and during the veranda roof attachment.
|
Thank you to those people who advised me of what era to base my model on. I have now committed to the "restored", rather than being accurate to my future layouts nominal 1970's timeframe.
Next activities are to work on the entrance wall, and the windows along the verandas.
Until next time.