Wednesday 30 September 2020

Recycling Rail


Recycling Rail


A comment from Robert McKeown on my Blog post on the Docker street sidings, advised of a new book on the Tumbarumba railway – “Recycling Rail” by Ron Frew.  Robert said that it covered aspects of railway stockyards, and timber mills in the Tumbarumba area.

The book was available at the ARHS bookshops.


Well, a check on-line showed that the book had been produced by the Tumbarumba Historical Society, to coincide with the opening of the Rail Trail between Rosewood, and Tumbarumba.  Described by the author

as a social history more than a traditional rail history of the Rosewood-Tumbarumba section of the old line that served the local communities so well from 1921 until it closed in 1974


The rail trail opened in April 2020.  So I thought I would head up to the mountains, and see for myself.

On the way I detoured via Humula.  

The visitor center in Tumbarumba was open, and I secured the book.  The Visitor center also had extremely nice displays by the Historical society, including a sawmill model, and many photographs that I have included in this blogpost.  Many of these pictures also appear in the book.


The Case mill was situated on a siding within the Tumbarumba Railway yard. This is the side that visitors to my layout will see. 

A water driven sawmill operated in the Tumbarumba area until 1915.  The display in the visitor's center was a idealised representation.


The book is a softback, 154 pages, extensively illustrated.  The book is loosely arranged to cover the history of the Tumbarumba area, the construction of the line, short biographies of “people of note”, a chapter on the sawmills, gold mining, stock movements, and many quotes from people who travelled and loved the railway.    There are also some details of the station masters at Tumbarumba, and some railway incidents.     The final 40 pages deals with the conversion of the Rosewood to Tumbarumba section to a rail trail, and the efforts in preserving much railway history.

The photographs are worth the price of the book.  Some notable ones

-         the construction of the cuttings, and embankments in the Downfall area, involving narrow gauge skips

-        The Downfall navvy village

-        Timber tramways

-        Sawmills

-        Gold mining

-        Huts

-        Loading wagons with timber


 And my questions I asked on the Docker Street sidings blog-post were also answered.  I know now that Hardys Wagga was just the retail/wholesale outlet for sawmills owned by Hardys (and others) in the Tumbarumba areas, and they transported timber by rail on a daily basis – up to 10 - 12 timber trains per week was planned in the years prior to WWII.    The Case mill, owned by Hardys, in the Tumbarumba station precinct was a major user of the line, producing softwood for fruit boxes, used in the Murrumbidgee Irrigation area out towards Griffith.  The book says that the mill closed in 1962, although it was still there in photographs after 1970.  The nearby Hardys “Ribbon Mill” stayed operational until 1971.  A good enough excuse to have the timber trains operational for my layout operation.


Some random images of the Tumbarumba end of the Rail Trail


The milepost peg close to its original location

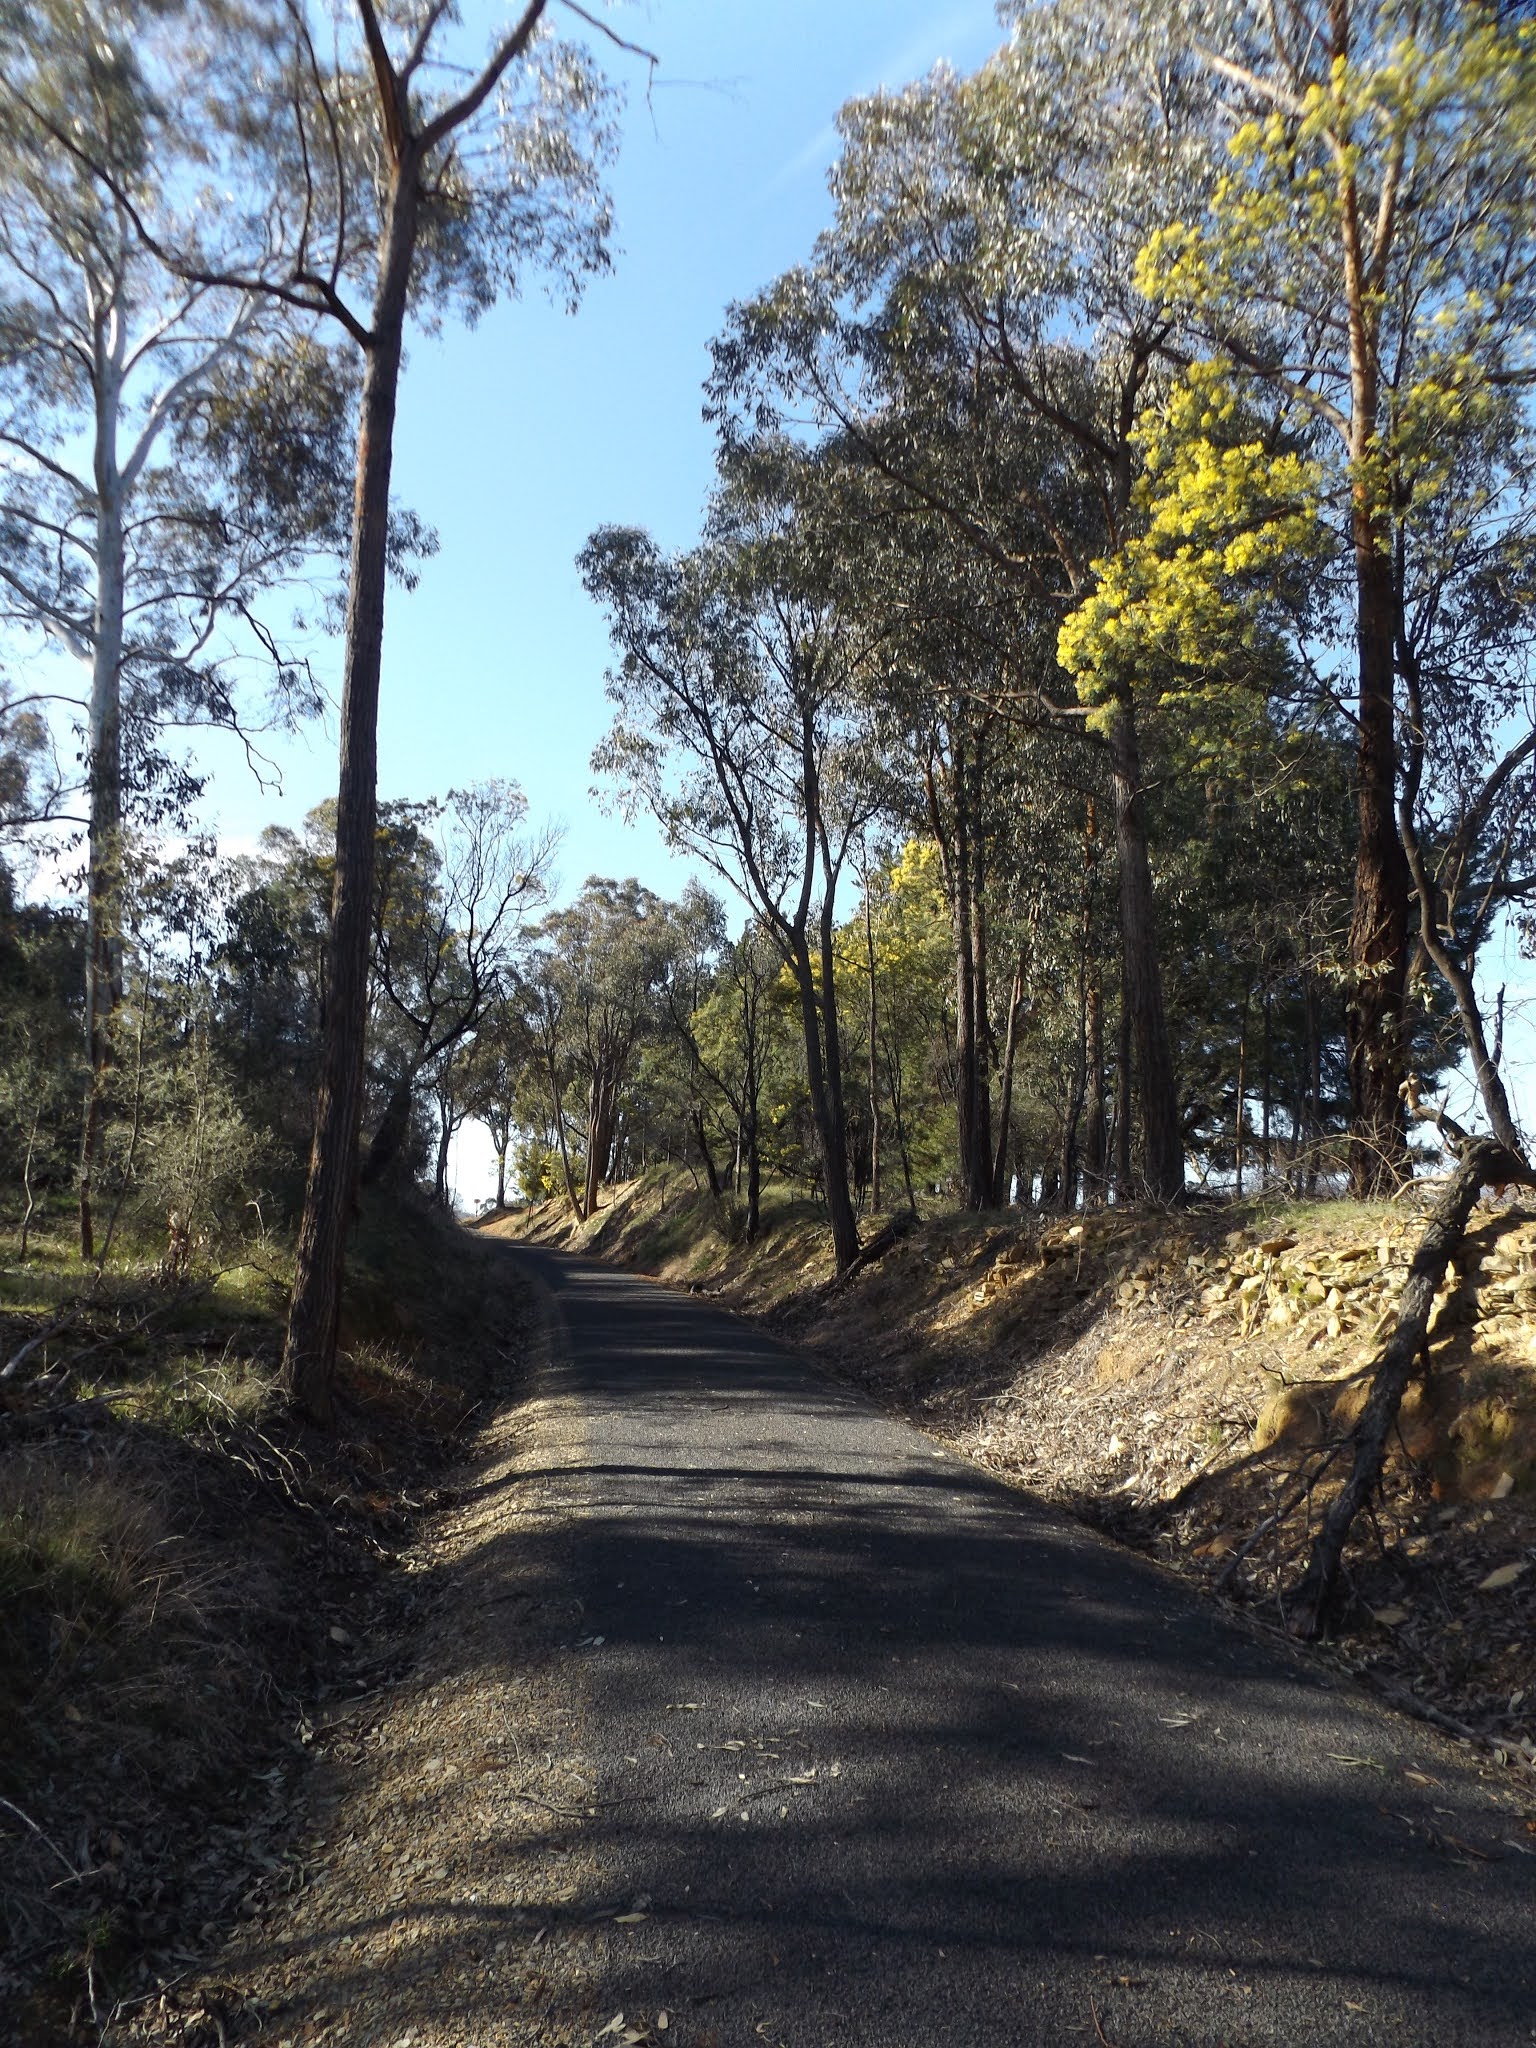
Downgrade out of the station


Restored gates.  These were restored by the local Mens Shed. 


The original Barracks building, after being recovered from a nearby farmer's field, and fully refurbished.  It is not in its original location in the yard. 

Important as the physical aspects of a model railway are, having the background of why certain things happened gives me a better appreciation of the operational aspects.  Thank you Ron for authoring such a wonderful book, and thank you Robert for making me aware of its existence.


A bonus if you visit Tumbarumba in winter, is that you can be greeted with scenes of snowy mountains off in the distance (around 70km away).  This shot was taken close to the railtrail at Glenroy.  One of my other aims for my trip was to gather images for possible backscenes.  And I took a number of closeup overlapping pictures of this scene (and more left and right), and hope to produce a panorama using photoshop.


And, if you happen to visit Tumbarumba, bring along your pushbikes, and ride the trail, around 20km, then turn around and return.  The scenery is magnificent.

Wednesday 16 September 2020

Wagga Wagga station - construction starts


Wagga Wagga station – model construction starts (finally)

I have a confession to make – I have been thinking about this build for many years, and for whatever reason, I never started construction.


42201 and 42209 passing through Wagga in 1981. Wagga station building is in the "as modified" design, and colours 


Perhaps, I was hoping that I could modify an existing model kit to make it closer to Wagga’s station. The Stewart Walker range of laser cut building kits includes the impressive Tenterfield station, another Whitton design.  Would other people notice the compromises if I kit bashed the Tenterfield station? 
Or maybe, I could get a set of Wagga’s station plans to Stewart, and perhaps he would laser cut them.  Rod Young did this for his Wodonga station, (a link to Rod’s Blog pages “Comtrain goes HO! HO! HO!” is on the top RHS of my blog) and the result is excellent. 
Another option was to get the building 3D printed – this would take me a lot of time in drafting.
A further option, and the one I am currently pursuing is to fabricate the station from basic styrene shapes.  There is something rather therapeutic about sticking little bits of plastic together.
I covered the Wagga Wagga station history in a blog post last year.

Scratchbuilding in plastic
Those readers who have followed my blog may have thought that I have accumulated a lot of basic  evergreen styrene shapes, and sizes in my “stash”.  They would be correct.  It wasn’t cheap, but living in Junee, there is not a “closest hobby shop” anywhere within a 4 hr round trip, so the investment in styrene over many years is worth it.  I am now in possession packets of all basic styrene strip sizes, and many of the “special shapes” strips. Having a selection should allow me to choose the correct size of strip.  So rather than a closest hobby shop, I have a closet hobby shop!!

Where to start?
I wasn't going to attempt Wagga station until I had started with something simple.   My success with the Ladysmith toilet block, Bomen station, and the Wagga signal box were great learning projects of steadily increasing complexity.  Do I have the skills to complete Wagga station?  I won’t know until I try.

Wagga station still exists, so it can be measured.  Having some facsimile NSWGR plans also helps, although the plans (on A4 size)  lacks the fine details that will be needed for a model.  It is also of the rebuild extensions – more of that later.

As per the Bomen station, I photographed the Wagga station from many angles, and returned home, to print the images onto A4 paper. 

It was at this point last year, that I was asked to rebuild the Bethungra Loop N scale layout.

…..A year passes……

2 months ago,  I returned to Wagga station, with tape measure, and my printed A4 images.  3 hrs later, I think I have enough measurements for the station rear – the main platform being off-limits until a train is due.  Will leave the platform side for later.

Modern restored, or as it was in the 1970s?
Over its life, Wagga Wagga station building was added to – incorporating a refreshment room, and parcels office, besides other things. Many of these “enhancements” resulted in extensions to the station, which from an aesthetic viewpoint, made the rear ugly.  A heritage rebuild around 1990, “backdated” the station, removing the extensions, and restored it to its former glory.  Do I remain accurate to my 1970’s timeframe, or do I build what is currently recognisable?  The former has the advantage of fewer fine details, plus I have plans; the as built, and current heritage version can be measured.

 ? what to do ?

รจ  Start with something that was common to both time periods.  And start with something that is HARD, and challenging.  The pair of walls on either side of the station entrance is a feature that exists today, and also in the 1970s.  The classical lines and angles fits the challenging aspect.

Right Hand wall of the main entrance

Main entrance

Left Hand side of main entrance

 
Main wall cut from 0.040 thou styrene sheet, and basic window trim added.  9 pieces of plastic

Some architectural trim added.  44 pieces of plastic

Continue with the trim.  55 pieces of plastic


Add the side "stones".  These in reality are actually just concrete.  I had to make a compromise with the evergreen shapes.  The size I selected for the block was slightly larger than prototype, and it made the "mortar" line just a bit thin.  But the number of blocks are correct.  Number of plastic parts now up to 85 

The roof "triangle" was made from 5 lengths of very thick evergreen strip.  Some 0.010 x 0.020 plastic strip for the trim on the top of the wall blocks, and across the top.  Plastic count up to 93


More trim added.  I had to cut the triangle gusset piece into two, as I was unable to fit the single piece I cut without having too many gaps.  Plastic count up to 128.  Unfortunate parallax distortion of the image. 

I added some quarter round styrene to the eight "triangle roof supports".  Each of these supports has 4 pieces of plastic, and the Wagga station has at least 100 of these supports around the entire roof.  Not quite as detailed as the originals, but I think it will do.  Note that I have not attempted the rectangle rebates between each of the pairs of "roof supports".  I cannot cut these out.  Options would be to add a positive section of styrene, or to wait until painting, and apply a decal of the correct shape.  Plastic count is 132.


Summary
My estimation that this wall has taken over 8 hours to fabricate, over a month of elapsed time.  At that rate, the station will not get finished any time soon.   However, creating the other wall will be fairly straight forward, as the time spent to select the correct size of styrene has been done, and I have a pattern to follow
I have shown my model to a few people in the Wagga area, who are familiar with the station.  Most think I am crazy, but like the result.  Rod Smith though suggests that I use the wall as a master, and get the extra wall cast in resin.  Rod also thinks that the Riverina Rail Heritage group that he belongs to may also want a Wagga Wagga station. 
Have I selected the time period?  I am happy to take advice.  The rear of the station is the aspect that will be seen from the aisles of the layout, and an attractive station rear, particularly one that is instantly recognisable, may progress the build faster than the ugly version – despite the later being easier to build.

Until next time