Friday 25 August 2017

Up the branch to Tumbarumba

The line from Ladysmith, to Tumbarumba saw its last train in 1974.  The stations at Tamboola, and Coreinbob won't be modelled on my Wagga layout,, but the next station, Borambola will be.


Borambola had a loop for the G2 goods shed, and a small waiting shelter. This shelter replaced a more substantial building, that one relocated to Uranquinty in 1935.  Another loop further on was for the stockyards, which were in fairly good condition.   I am also planning on my layout to re-instate the water tank which was removed in 1971.


This section of line also contained many small bridges, and I hope to include a few on my layout


After Borambola, the line passes the unofficial halt of Edwards Crossing, before reaching Tarcutta.  The section of line over Tarcutta creek was washed away in the flooding of October 1974, and never restored.  By the time I had a camera, and car in the early 1980s, the Tarcutta station, and area was being used as an RTA road manitanence depot.  Unfortunately, bushfires have now further destroyed the scene.  Whilst I am not able to include Tarcutta, many of the features are similar to Ladysmith.  The signal box (a plan appears in Dec 1986 AMRM), was identical to Ladysmith - although Ladysmith's box was removed, along with the extended platform in 1969


Humula is reached after passing the small station of Umbango Creek.  The station building had been removed shortly after the line fell into disuse, but the signal box remained, along with a water column. Of note is the point levers outside the box - I understand that the signal box had the staff instruments, and operated the signals only.

Humula also had an operating sawmill adjacent to the rail yards, and stockyards

                     Diagram from the ARHS CD of NSW station diagrams

Humula also had a triangle for locomotive turning, with a small coal stage on the point of the wye. This triangle was installed because Humula was  the terminus from 1917 through 1921.  The tracks were still connected as late as an ARHS tour in the 1960s and far too tempting to not have for my 1970 period.


Rosewood opened in 1921.  Between Humula, and Rosewood, the line passes through  forests, sweeping curves, and a 1 in 40 grade.  Rosewood station is a typical NSW ferro-concrete prefabricated structure.  Due to space constraints, I will be unable to model this , or any others until I reach Tumbarumba

        60' Turntable and water tower

     Looking at the yard towards Wagga. Note the potato grading shed on the LHS


    Station building in Dec 1980. Note the platform scales have not been stolen

   Goods shed and 5 ton yard crane.

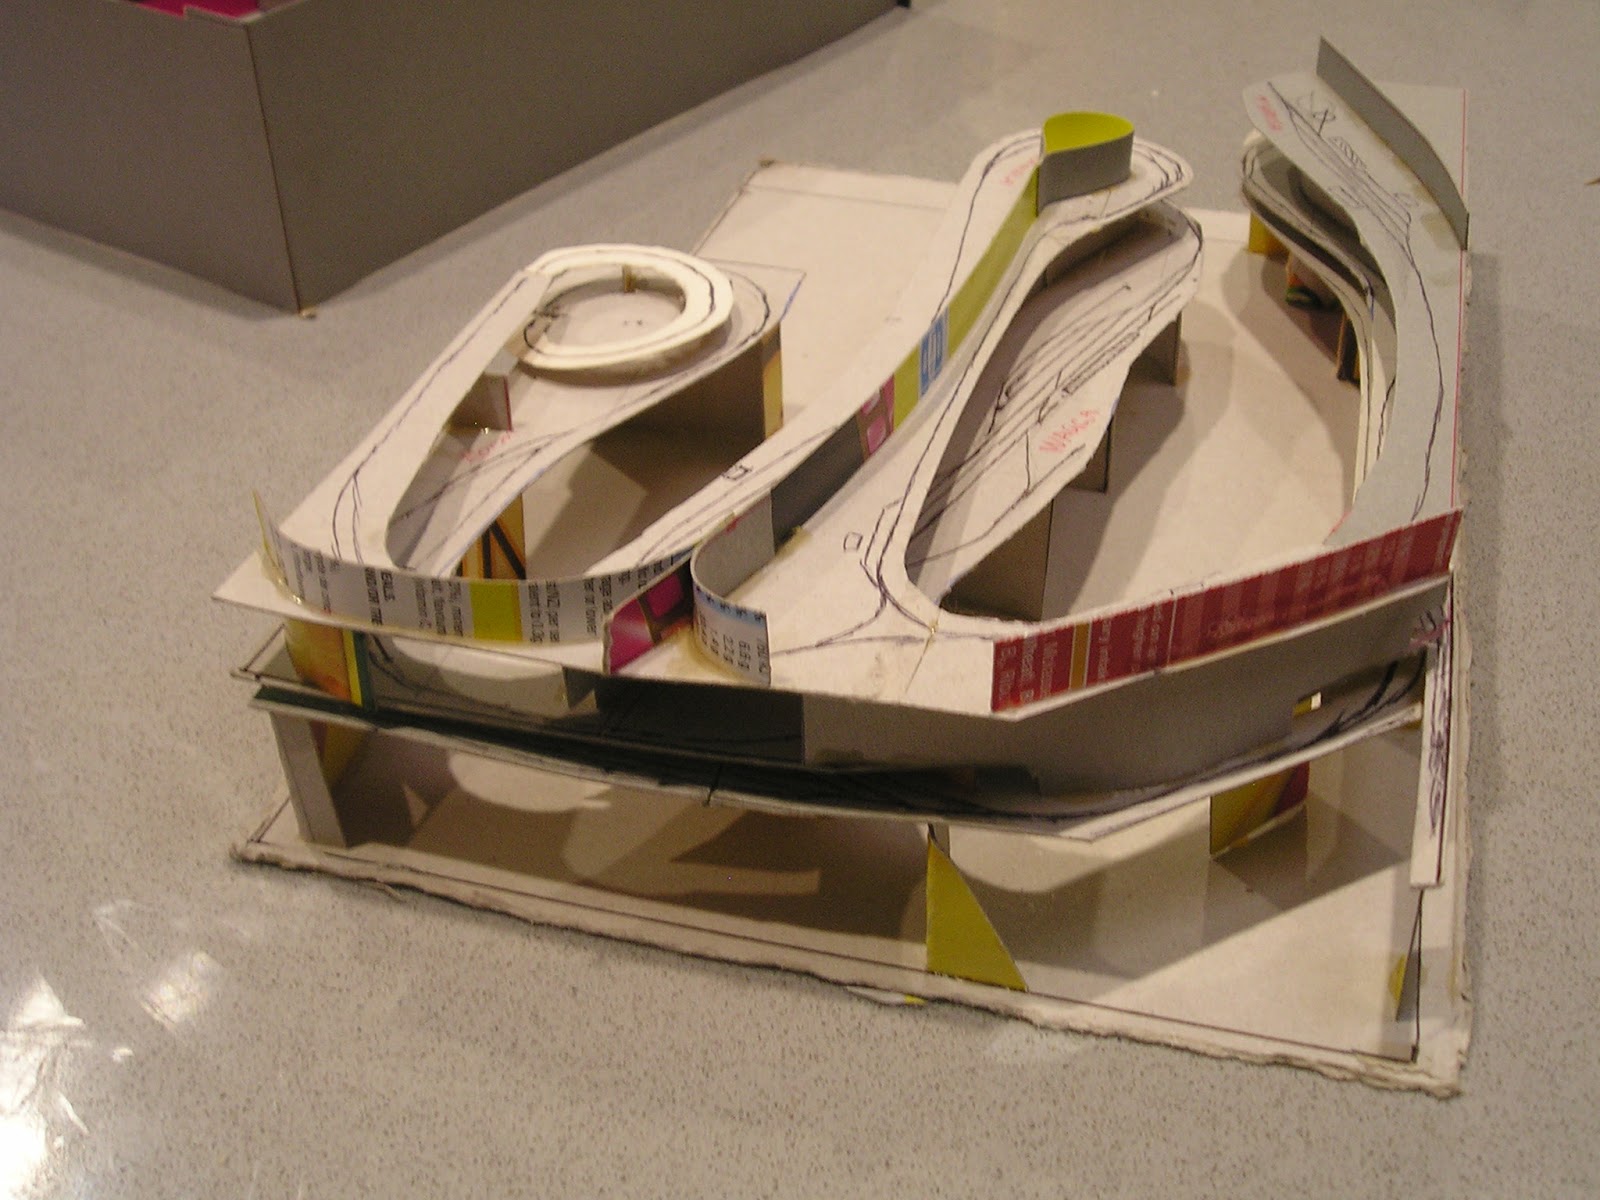
I am hoping to model most of Tumbarumba on the upper deck of the layout (above Bomen)   Fortunately, there are some excellent photos in the Train Hobby "NSW Branchlines - Riverina District" book, as well as the booklet put out by Tumba Rail and Wagga Wagga Rail Heritage groups "The Wagga Wagga to Tumbarumba Railway - 'Why was it Built'"  to fill in the substantial gaps in my own collection of slides.

And a final note. the pictures here are all taken by me on slides, and my elcheapo, but quick slide scanner does not do a very good job. I have enhanced most of them with Adobe Photo Elements software, but the few where the colours were too far gone, have been converted to B/W.  The slides themselves though are a mixture of Kodachrome, and Agfa Colour - the agra colour tints have started to drift, but not as badly as my scanner results show.

Happy modelling


Friday 18 August 2017

Ladysmith silo - Part 1

Wheat is one of the major crops grown in the Riverina area.   The railway branch line to Tumbarumba was built in part, to assist growers to get their wheat crop to market.  Initially, wheat was bagged, and loaded onto the railway’s S trucks, but in the 1930s, silos were constructed at Ladysmith, and later at Forest Hill.   The Ladysmith silo followed the S008 design, and is the subject of my next model


If I was looking for a challenge, I found one in the silo.    A few decades ago, Keiran Ryan wrote a series of excellent articles in Australian Model Railway Magazine AMRM.  (Issues 163 -167, 170 and 240).  These issues are still available, either in print form, or on the AMRM CD).  The S008 silo was chosen by Keiran for a specific blow by blow construction article across issues 165-167.   These editions formed my basic reference, as well as my detail photos taken a few weeks ago.    
Way back in the early 1990s, I bought the LJ Models S008 silo kit.   This kit was reviewed in AMRM issue 178.  The LJ models range of kits was very extensive, inexpensive – but they did have a drawback – they were printed cardboard.   In the hands of talented modellers, the flat cardboard could be made into very acceptable models, and substitution of 3 dimensional material (like corrugated iron) over the parts was one of the tricks.    However, having met Keiran displaying his scratch-built silos at a number of model exhibitions, convinced me that I should buy one of his data-packs, which included 4 sheets of styrene, and 4 PVC pipes.  Plus I bought his brass etchwork for some of the detail.   So the LJ Models S008 kit remains unbuilt, whilst I go down the Keiran Ryan silo building path.
Keiran now offers his silo kits in laser cut acrylic form – a significant improvement from the old styrene. Having spent many hours cutting out parts from styrene, I would recommend the later kits for ease of construction.   


Parts  for the cupola.  (note I screwed up my measuring of the side roof wedge cutout – fortunately I had kept the “discarded” piece, and fixed it further into the build.  Cutting out the windows in 40 thou styrene is a skill I have yet to master
Assembly is straight forward, ensuring that all the walls are square, and taking special note of the bevelled edges of the styrene where the roof fits.

             Nearing completion of the basic shape.  I still have the vents/windows to make.


I couldn’t help but place the cupola on the PVC tubes.  Nothing is yet glued.  I still have to make up the central core.

Until next time, happy modelling.
===============================================================

As a foot note, a few years ago, Auscision produced a range of solid resin NSW grain silos – An S008, S016, and S024.  At the time, I failed to buy any, although they quickly sold out.  Then a few years ago, I was offered a boxed Auscision S024 silo, at a price too low to pass.  Whilst the S024 is too big for my purposes, (not to mention very heavy), I am in need of an S016 for Shepards Siding, and the S024 may incur some  drastic surgery to remove one of the side bins.   But this is for the future.  In the meantime, I had a look at my S024, as it might give me some inspiration on my silo build......


Thursday 10 August 2017

X factor layout design theory


I have been asked “What is an ‘X’ Factor layout?”  Well, simply, it is a method of arranging a point to point layout in a way that allows easy remarshalling of trains in staging yards after an operating session.

But I am getting ahead of myself.  So let’s head down the rabbit hole and explore some theory on why a layout needs staging yards. 

Staging yards are a way of hiding a lot of trains away from the scenery portion of the layout.  Consider staging yards to be the rest of the world.  Trains can be held there awaiting their opportunity to enter the layout proper, do some shunting, or stop at the station, and then depart somewhere else.  Once they have left the scene, then, they are then not expected to return – at least not in that operating session. 

Without staging yards, it is operationally difficult to integrate your layout into a much larger railway system.

Let us take, for example, the common 2.4 x 1.2 metre layout in a spare room.  This size is commonly used, as it is a sheet of plywood.  Access is on 3 sides. 


This layout has 2 stations, one on each side of the plywood, separated with a backscene.  Trains circulate  from one station to the other, maybe doing some shunting.  A tunnel hides the “oval”.  A lot of people start with this concept.    Rather limiting is what you might be saying, although you have to start somewhere.

Consider the track diagram below

                            Simple linear layout,  with  staging at each end

With a simple change, we can transform the 2.4 x 1.2 metre layout into the above point to point layout, which has trains travelling from somewhere to somewhere else.  This is where the “X” factor comes in.    


Original layout, with staging tracks along the wall.

I have located the staging yards along the walls of our spare room, although they could be placed almost anywhere – even in an adjoining room.   You will note that the “mainline” oval is not broken, and could be used for multiple laps before the train reaches the other staging yard.    Repeat for all trains, until the operation session is completed.  The “X” factor is the shared trackage between the staging yards, and the mainline oval.  To reset for the next operating session,  simply reverse the trains from one staging yard to the other, utilising the shared tracks
My Wagga layout is planned to have two 9 track staging yards (Albury Staging, and Junee Staging) at either end of the main line.  These staging yards will be located UNDERNEATH the main line.  Trains will be marshalled with locomotives at the front of the train.  Once the train has finished its run, it will have the locomotive at the buffer stop end of the other staging yard.   
Of course, there is a problem – how do you stop trains leaving one staging yard  from crashing into trains arriving, or departing the other staging yard?  I posed this question to the presenters of a “X factor layout” clinic at the 2015 NMRA Portland USA convention   I did not receive a satisfactory answer.
But there is a simple solution.  Keep one of the staging yards “inside” the layout.  And only use the crossover trackage when remarshalling, OR if running trains in a continuous loop.  I plan to use a shinohara scissors crossover in the “X” position.

The Wagga layout design has  two 9 track staging yards (Albury Staging, and Junee Staging) at either end of the main line.  Trains will be marshalled with locomotives at the front of the train.  Once the train has finished its run, it will have the locomotive at the buffer stop end of the other staging yard. 


                Detail, not to scale, of the staging yard throat, and X factor crossovers on my layout

My benchwork  is hoped to  includes a “void” at the rear of the Murrumbidgee river bridge, beyond the backscene.  This void location will have access to the scissors crossover, and has access to the staging yard throats, and can directly observe any trains leaving, and entering the mainline.  An ideal dispatcher role.  Only the dispatcher can change the pointwork on the scissors crossover.  I am not sure if I will need to re-run a train during an operating session, (eg second division of the Intercapital Daylight), but there is that option with the dispatcher.


                                         concept model, showing the dispatcher void

And why have I chosen 9 tracks per staging yard?  Well, many of the electronic DCC route selection modules have provision to throw 8 point motors – which equates to 9 stub tracks. I had arranged the yard design to minimise the “shelf width”, although they end up being twice as long.  The longest train is around 3.3 metres (10 car Auscsion Southern Aurora), so I will need sidings of this length


 Will that be enough tracks for a full operating session?  8 or 9 mainline trains in each direction?  Probably NOT.   But I am not yet locked in to this number, and the planning and pondering continues.  

Wednesday 2 August 2017

Ladysmith silo - field trip

The next structure for Ladysmith is the S008 silo.  I had one of Keiran Ryan's S008 silo kits (the old styrene one, not the more recent laser cut offering), and about 3 hours into cutting out the parts from 40 thou sheet, I reaslised that I really didn't have enough details.  Surprisingly, Keiran in his "Australian Railway Detail Photos" (Vol 1, 2 or 3) had also failed to have covered the S008 silo.  So, today being a nice day, and as  I had a 5pm meeting in Wagga, I thought I would go early with camera and visit Ladysmith silo.  Oh the joys of modelling something close

As luck would have it, a truck was being weighed on the weighbridge, and would shortly be receiving a grain load from the silo.  The guys were very friendly, and allowed me to take my detail pictures.  I was wearing a safety jacket, and I stayed out of their way.  The below images are just a sample of what I took.  And yes, I did get to go inside the silo.


One can't forget the outbuildings

Anyway, now armed with around 70 images, including some of the bulk grain shed which I don't think I can fit on the layout, I am feeling a bit more confident with Keiran's kit.

Happy modelling