Finally finished
(?)
When is a model railway layout really completed? I have been debating myself on this topic for
a while. Should I spent the extra effort
to add many small details, and thus delay working on my Wagga layout/models, or
do I stop working on the layout once it has reached an acceptable functional
standard?
 |
| View from the northern end, looking south. The up and down tracks on the left weave to gain clearance for the crossover bridge. The level crossing is also not quite complete |
My answer is at the end of this update
Fascia board
The white foam visible on the front fascia was always meant to be covered. My original idea was that I could paint a suitable fascia colour on the future perspex. Well, without the perspex, this was not a good idea. So I fashioned up an MDF profile to hide the foam, and after fitting, found gaps that needed to be filled with more scenery. It would have been better to have installed the fascia earlier, so I wouldn't have had to try and match existing terrain.
The colour was a representation of the "red brown" clay that is typical of this area. A 250ml sample pot from Bunnings, and a roller to apply.
 |
| What did we do without grip clamps? |
 |
| Fascia board installed - secured with screws and painted. |
Wiring considerations
The H&M clipper control had previously been placed above
the layout, with wires running direct to the track. Whilst this was OK for testing, it was not
going to work once the perspex was added to the front. So I made up a shelf under the extension
board out of scrap timber. The control
to activate a train has been agreed with the Museum. Using a Clipsal “push button” timer light
switch, will activate the clipper
transformer. Being 240 volt, this needs
to be wired by a licensed electrician, so I will leave that task to the Museum.

The other way to do it is to wire this plug up to the
controlled 12 volt wires leading to the track.
This doesn’t need an electrician – but it also means that power is
constantly on to the Clipper, and relies on the Museum volunteers to turn the
240volt AC supply on and off. Risk of
fire from an overheated transformer is significant, so whilst there is more
cost with the electrician, safety is the route forward.
 |
| I am assuming that the museum will want to install curtains at the bottom of the fascia board to hide the transformer, and wiring. |
Cleaning track.
As trains had not run on the layout since I started scenery,
there was around 13 metres of track to clean.
Some of it had been affected by glue during the ballasting. So armed with my block of wood, I slowly
polished my way around the circuit. I do
not use an abrasive cleaner, as this introduces scratches into the surface of
the rail, and becomes a groove where dirt can accumulate. The tunnel scenery inserts were popped out to
expose the “hidden” trackage. A vacuum clean then picks up any loose ballast
etc.
 |
| The tunnels, after removal of the inserts. |
 |
| The 4 tunnel inserts resting in the middle of the balloon loop whist the track is cleaned in the tunnel. The balloon loop area has been deliberately not sceniced, as it does not represent the actual loop at all. It could be used for a small display by the Museum, The inspection train waits patiently for clearance from the railway authorities. |
Test run.
I own a few N scale locos that need good clean track to
run. So these are the best locos to test
the track. All was going well, until the
loco stalled in the tunnel. Turns out
that one of the tunnel scenery inserts had too much foam extending downwards
from the tunnel roof. Very easy to
fix. There was also a fair bump over the
track join between the main board and the extension. An adjustment on the screws
holding the track alignment plate in
place, cured this. Once I had a few
laps under my belt, I added a couple of test carriages and again, a few more
laps.
Carriage modifications.
The Passenger carriages all used Rapido N scale couplers
mounted on the bogies. All the museum
locos use microtrains couplers. So I
converted one end of a passenger coach to microtrains. I cut off the Rapido coupling off the bogie,
and body mounted a microtrains coupler direct to the underside of the coach
end. Amazingly, the coupler height was
spot on.
Obviously, this modification also needed to be tested. The best running loco in the museum fleet is
an Atlas GP38. After coupling the
carriage to loco, a few more trips around the layout were successful.
------------------
A layout tour.
 |
| The official inspection train, emerging from under the crossover bridge. The GM class locomotive was kindly donated by Peter Dinham, of the Canberra Monaro N scale group. The coaches are Kato, and if you really look closely, are of Japanese prototype. |
 |
| Our train passes over the #1 tunnel |
 |
| Continuing down the hill, the other 2 tracks are for the spiral. |
 |
| As before, the track at the bottom of the hill is not sceniced, as it is purely there to turn the train back up the hill. |
 |
| Our train starts it climb up and around the loop - about to enter #1 tunnel |
 |
| A view of the loop, showing the unsceniced section (the white foam, and no ballast track) at the back of the hill. I couldn't really justify spending time on an area that would not be seen form normal viewing angles. The train has climbed the hill. |
 |
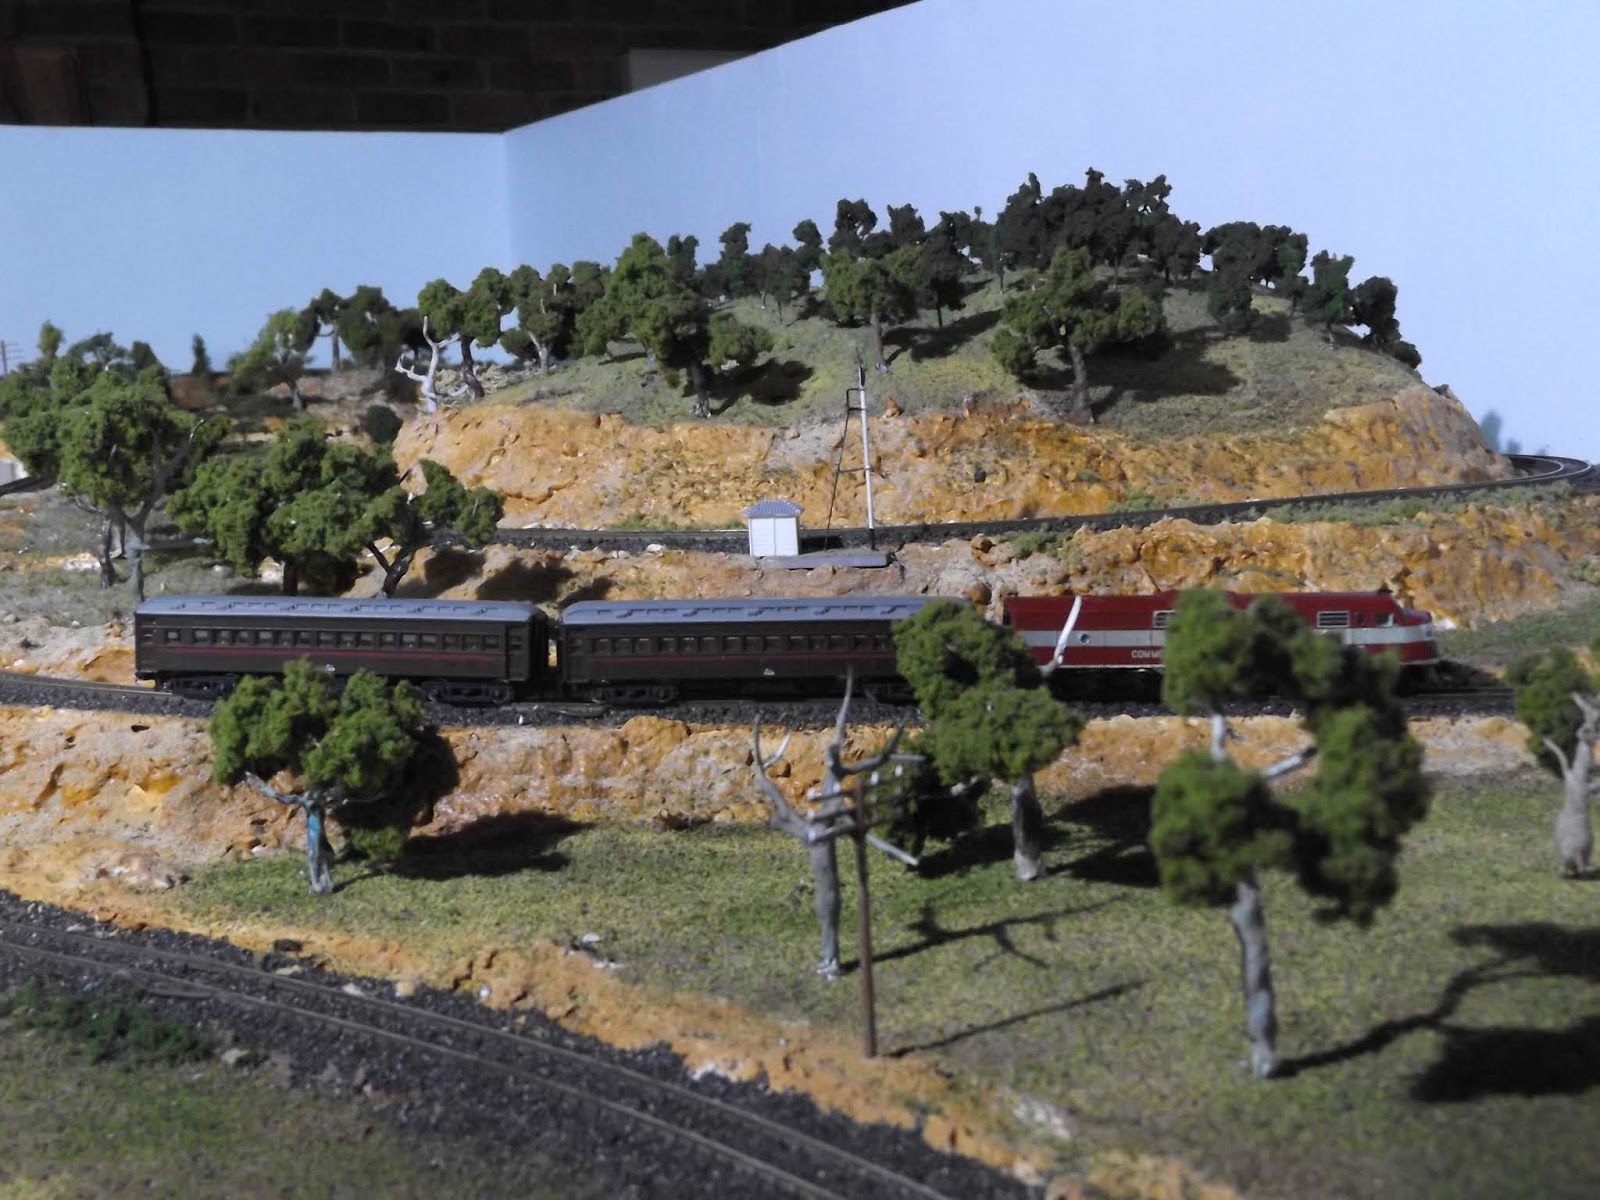
| The train passes the upperquadrant signal, and relay hut. The upperquadrant signal is one feature I recall from my early days of riding trains to Sydney, as it really stood proudly against the sky, as viewed from a train carriage window from the lower track. Both structures are scratch built, and sadly, the upper quadrant doesn't operate |
 |
| Our inspection train heads towards the crossover bridge |
 |
| After crossing the bridge, the train hits a downgrade. On the real Bethungra loop, the bridge is a below deck girder, and the track continues for some time on a rising grade, until reaching the level crossing. But compromises have to be made, to squeeze, and compress the model to fit a tight space in the Museum. |
 |
| Finally, our train reaches the olympic highway level crossing, and end of the scenery |
 |
| The Museum owned NSW freight train drifts down the hill. It would be nice if they had more than 4 NSW freight wagons. |
What lessons learnt
Construction of a model layout has refreshed a lot of my
skills, and allowed me to try out some ideas that could be used during the
construction of my Wagga layout.
- Install the fascia early, not after the rest of
the scenery has been done
- Polystyrene foam
is effective for creating landforms, but messy to work with. Hot wire
works, but extruded foam may be better than white beaded foam
- Storing things for 20-30 years on the offchance
you will use it is false economy.
- Sculpt-it “plaster” is excellent for rough
rockwork
- Large areas of scenery are not something I enjoy
building
- I am not a fan of tree making
- Forced perspective works nicely
- Hidden trackage MUST be accessible
- I need more experimentation with my static grass
techniques
It was good to put some theories into practice. Perhaps the best advice is to trust yourself,
for even if it doesn’t work, you will learn something.
 |
| Probably my favourite angle to view the layout. The forced perspective on Bethungra hill is quite effective, and the shadows from the trees along the road looks good. (Sorry to show the clutter in my garage - spoils the illusion). |
The answer
It has been been 9 months since I accepted the challenge to
rebuild the Bethungra Loop layout for the Broadway Museum, and I think it is
time for the layout to return to the Museum.
I have contacted them, and they are arranging the transport. However, with the current COVID19
restrictions, this may take a few days (or weeks), so I will keep adding
details until then.
Stay safe.
Very nice work Rob! I'm sure this is going to become an impressive feature in the Broadway Museum. Must be nice to know that visitors for years to come are going to enjoy pressing the button to see the trains run. Plus I'm sure it was a good test run for what you may or may not do on your own Wagga layout. All the best.
ReplyDeleteWell done Rob looks good and the story along the way was great now the new journey begins. All the best Rob
ReplyDeleteRob,great work! I suggest the term should be 'substantially complete'. There's always something to do.
ReplyDeletecheers Phil
You are quite right Phil. I should have used the "substantially" adverb. Since the Blogpost, the pavement between the rails at the level crossing has been added, a couple more trees planted, and soot now graces part of the concrete on the top of the tunnel entrances. Am also thinking about the roadside fences. I guess I will continue to tinker until the layout leaves my garage
DeleteHi Rob
ReplyDeleteGreat work.
I am interested in trying a similar project.
What would the overall dimension be please.
Garry
Thanks Garry. N scale does have some big advantages when it comes to fitting a layout into a small space. The Junee Museum originally thought it could all be done on 1 board - but I very early got approval for a minor, but necessary extension to incorporate the crossover bridge, and the level crossing with the Olympic Way. The layout has 2 boards - the larger is 2430x1230mm, the smaller was 600x1200, although there was some overlap on the join. Good luck with your layout. Rob
Delete