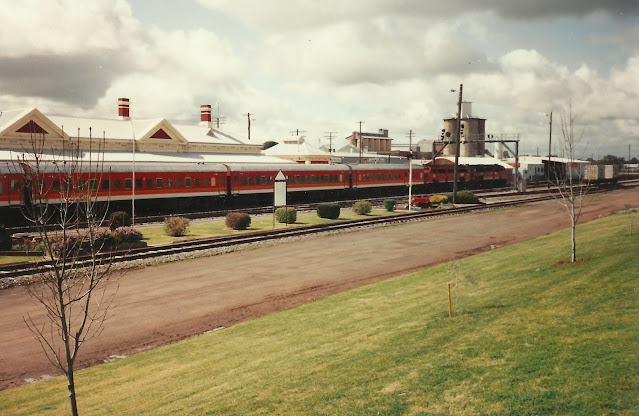
Wagga Wagga station - roof, and details finished (although it still needs painting)
It has been just over 3 weeks since my last blog post, but rather then filling up the blog with another "unfinished" post, I am now pleased to advise that the main roof has been completed
Similar construction method to those I made for the Bomen station masters cottage so I won't repeat it here (search for station masters cottage in the search area of this blog)
 |
| First I made a scale sketch of the chimney. 4 are needed. 2 are identical to the sketch, the other 2 vary slightly |
 |
| Building up the profile of the chimney takes many pieces of shaped styrene, as this in progress picture shows. In the end, each chimney had 32 pieces of plastic |
Roof vents
Wagga Wagga station has 5 triangle roof vents. I used the template created earlier to cut out the corrugated styrene, then bevel the edges, and cement the parts together. Before adding the grills (0.010 x 0.020) strips, I blackened the interior with a permanent black marker to add the illusion of a depth.
 |
| Rather a fiddly job. Cutting out the grills was measure, cut, fit; measure, cut, fit until the hole had been filled. BTW, there should be 6 grill slats but I think the proportion looks right with 5. |
 |
| Unfinished chimneys and roof vent positioned to check how it looks. Having the chimneys removeable is a neat thing to do |
I have always struggled with this aspect - never convinced that a strip of paper, or aluminium foil folded over the peak looks as good as the real thing. So, the new technique for me (I am sure others have done this) was to add two thin styrene strips on either side of the roof ridge line, and cap it off with a styrene rod.
 |
| Ridge capping on the eastern end roof, with yet another picture of an unfinished chimney |
After the capping was completed, I continued with the flashing details around the chimneys, and roof vents. Last things were to complete the guttering, as described on an earlier blog post.
To my surprise, the 2 end sections of roof sit snuggly within the walls, and it is no longer necessary to screw them in place. I am always looking for a time saver, so unless the roof sections start to warp, I will leave the screwing option open for now.
End of stage 2 of the build
To mark this milestone, I thought I would photograph the station front and back with a green backdrop. Green is not the colour expected of grass in February in Junee, but it makes such a nice change from the dust and smoke we had this time last year.
What is still needed to be done?
1) The two toilet extensions at the east (originally for station staff), and west (originally ladies waiting room) ends of the station
2) Painting
3) Window, and door inserts
4) Verandas and awnings, downpipes, and other details
5) platform to put it on
6) construct the two satellite buildings - lamp room (west), and gents toilet block (east)
7) maybe fit an interior into the centre waiting room
Until next time, stay safe, and build a model or two


Great work Rob. This is shaping up to be a masterpiece! Looking forward to seeing it all painted up and finished. Keep it up.
ReplyDeleteAppreciate the encouragement Phil. Painting is going to make or break the structure. I will start with the 2 (currently being built) toilet blocks, to test the paint, and technique.
DeleteBrilliant work Rob!
ReplyDeleteRob, fantastic progress on Wagga Station Building. This is going to look good when it's completed.
ReplyDeleteRegards
Peter B