Adding the track.
Welcome to 2019. To
celebrate, it was time to get the track down across the Kyeamba Creek Bridges.
 |
| 42102 heads south approaching the Wagga station platforms, with a train of VR cement hoppers in around 1981. The double slip connection to the main line had recently been disconnected. Supplied picture - photographer unknown, used with thanks ( If it is your picture, please contact me) |
After adding more foam scenery, I repositioned the bridges,
and made some minor adjustments to get them sitting right. This was not helped by the 6 span trestle getting
a minor longitudinal twist. I removed
the rails from the plastic sleepers on 2 sections of flextrack, and painted the
rail sides with roof brown. After drying, the sleeper base was added,
leaving gaps where the bridges were.
I had 2 options for attaching the rail to the bridge. The first was spiking, the second was
glueing. Call me lazy, but glueing was
selected. The main running rails were
glued to the paper sleeper or tie plates with 6 minute 2 part epoxy. This glue was smeared to the underside of
each rail, and then positioned on the bridge.
Note that it important to get the rail straight, and to have the rails
at the correct gauge. Please note the
picture which shows peco plastic sleepers being used to hold the rail
gauge. Yes, the head of the rail can be
clicked into the plastic sleepers gap, and holds on nicely. Had I been using a finer rail, then I am not
sure that this method would work. Code
100 is very forgiving, and my experience with exhibition layouts, says that
reliability starts with good trackwork
 |
| Rail being added to the unnamed creek bridge. Note the Peco track sleeper base, being used upside down, to hold the correct track gauge, To ease installation, the rail was added to each bridge separately |
Once the glue had set, the plastic sleeper base was secured
to the diorama with pins. The railhead
was then cleaned of any surplus paint using a masonite pad. I try and avoid using abrasive track cleaners,
like peco or bright-boy, if other less
destructive methods work.
Check rails also painted prior to installation. I am not sure if using tacky glue will hold
these in position, but because they are not installed on the tie plates, their
rail head is lower, allowing future cleaning of the running rails to not also
clean the check rails. I didn’t add
check rails to the unnamed creek bridge, as I had no photographic evidence that
they were on the prototype.
Ballasting followed.
Secured with white-glue/water/alcohol mixture, and allowed to dry. Securing track pins then removed.
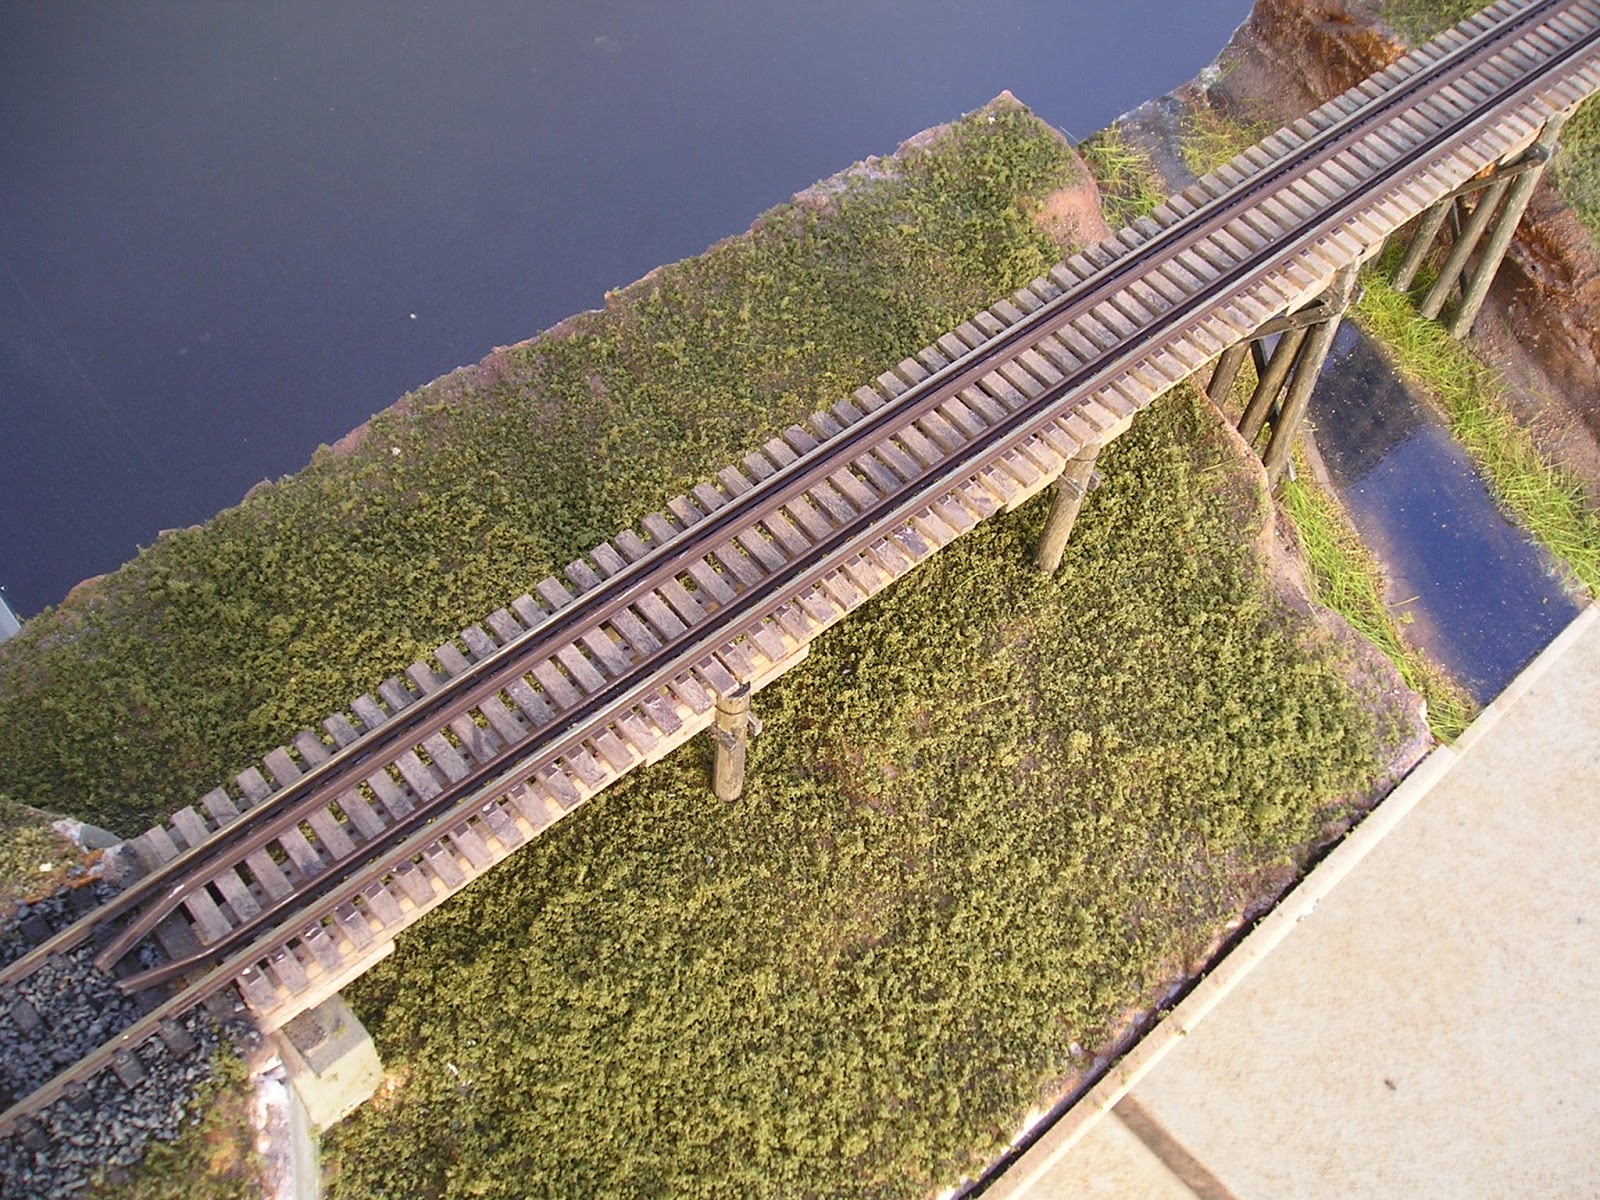 |
| Checkrails added to the Kyeamba Creek trestle. The creek "water" has been covered with a layer of gloss medium, and this gives good reflections. I am not sure if I will do a 2 part epoxy clear water mix to give more depth. |
 |
| No checkrails for the unnamed creek trestle. |
Well, this finishes the bridge diorama until installation on
the layout. The idea of fitting trees,
and bushes, whilst the diorama is stored on edge is a recipe for a mess. I am sure there will be additional tweaks to
cover gaps, and touch-ups to raw “plaster” showing. Thank you all my readers, and followers for
your comments, and encouragement, on what has been a long project.
Time to start something new.
Until then, happy modelling.
 |
| A teaser to what a typical branchline train might look like on the layout. The blue backdrop was previously painted 30 years ago for a now scrapped module, and propped behind the diorama. The train is a Wombat Models C30T, a pair of SDS BCW, and a Trainorama PHG. |

 |
| An empty stock train heads over Kyeamba Creek towards Ladysmith |
 |
| I will be hiding the distortion in the creek bank with a blackberry bush, |
 |
| The best of this group of images. |
No comments:
Post a Comment