Wagga Wagga Station Master Residence - construction starts
Over the last month, I have not been able to devote more than a few hours to making my model, so things are progressing, slower than I would have hoped.
This post follows an earlier post, showing a plan, and photos
https://buildingwagga.blogspot.com/2023/07/wagga-wagga-station-master-residence.html
The build in Styrene
The SM residence build is quite similar to my earlier models, so I will only be posting a few photos of the process.
 |
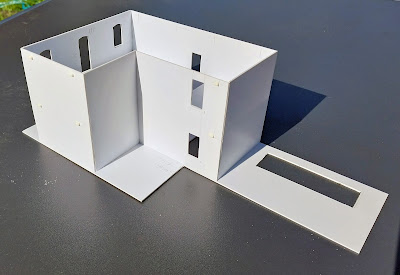
| 6 walls for the L shaped building, and a base. I had cut holes in the base to allow for later fitting of windows |
 |
| Front entrance wall. Adding all the decrorative flair is easier when the wall is flat. There are 57 pieces of styrene in this picture |
 |
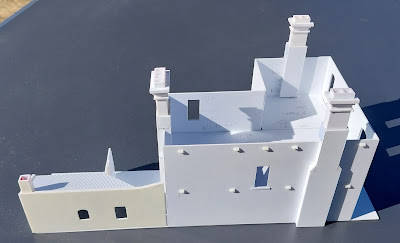
| Chimneys added |
 |
| The rear annex was made as a sub assembly. I can't say that this idea worked out |
 |
| The Annex build is not quite the same as the detail photo *(see later), but I am going to not worry too much, as when I cover it with an awning, chances are it will be invisible to all viewers. |
 |
 |
| Some details from the Annex. Note corrugated wall, guttering and reduced door size. |
 |
| Another annex detail. Note the wooden trim over the door/window. And yes, the brickwork is not rendered. |
Next steps will be the 2 story extension, and roof.
More trains
 |
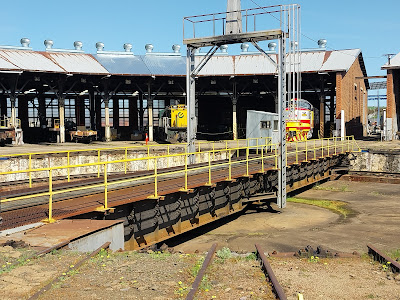
| CLP09 (Auscision Models livery) resting in Junee Roundhouse |
 |
| Junee workshop shunter. Suspect this loco was once in the Newcastle steelworks fleet |
 |
| It has been over 3 years since part of the roundhouse roof had been ripped off in a nasty storm. It is good to say that the repairs have finally been completed |
Cootamundra Swap Meet
Curiousity secured me with some wall trinkets on September 3rd from the one retailer. In addition, I managed to get 6 HO scale Road Ragers (1960-70s Australian cars) for $90
 |
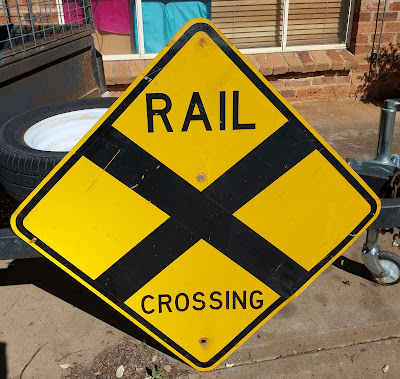
| These will be ideal to attach to the brickwork outside my train room. The steam loco sign looks unused. Yes, $30 was what I paid for the sign - a bargain? |
Steam trains
Pete Neve had a steam up on Sept 14th for some guests from Canberra, and my presence was requested
 |
| "Torpedo" being prepared at Petes engineshed behind his home. Torpedo is a Hunslet locomotive, ex canefields |
And I will try something new. A video.
Pete has a website. Google "Petes Hobby Railway"
That it for now. Need to get back to mowing, gutter clearing, building a train room.....and perhaps more of the SM residence.
Until next time.
.jpg)


Rob, I continue to be awed by your work with styrene. Very impressive. Incidentally, I acquired a Rail Crossing sign many years ago after a stint working in local government. The sign makes an impact every time the garage door is opened. cheers Phil
ReplyDeleteThank you Phil for your continuing interest. I thought the sign would be good, and I am bouyed to hear your ongoing success with the rail crossing sign. I had planned to add it to the wall outside the train room, but if I planted it on a pole outside the driveway, it might get more impact. Now I am looking for a set of crossbucks.
DeleteRoger informed me that an Australian MZ body shell is available on Shapeways, and designed to fit the Austrains C class chassis. Roger says that the one he has has a slightly rough texture from the 3D printing process - that is difficult to flatten out, but should improve under paint. I asked Roger if he had made his, but no, he has not.
ReplyDelete