Wagga Wagga Station Roof progress
It probably goes without comment, but the complexity of scratchbuilding doesn't rise in a linear fashion, with the larger the project - it is more like exponential. Errors in measurements made at the beginning don't show up until much later, when something doesn't work, or look quite right.
 |
| Wagga station was refurbished, and repainted in 2017. The concrete rendering over the brickwork had been removed above the awning, giving a clue to the original construction in the 1870s. |
At 53cm wide, I am rapidly using up my supply of corrugated styrene sheet, so it is important to minimise the wasteage. I should have included this on my last blog post. Below is how I cut the styrene for gable roofs
 |
| rearranged. |
 |
| Picture from last post showing the gable roof in position |
 |
| The roof truss frame for the eastern wing. The roof trusses are resting on a ring of styrene, which are sized to fit snuggly within the walls. The tips of the trusses rest on the previously installed guttering strip |
 |
| Corrugated styrene fitted to the frame, and attached to the gable roof. Subtle detail - not that obvious from this view, is that there is a channel between the eastern wing roof, and the gable roof. The roof capping is for the future |
The western wing roof was built in much the same way
 |
| All the roof is now on. The center section between the 2 gables is just floating, although it also has a styrene positioning strip below the roof frames. Guttering on the western end hasn't been added yet. |
Roof details.
When people view your structures on your model railway, I suspect that the first thing they see is the roof. So it makes sense to detail it.
 |
| Another view during the refurbishment showing the eastern wing |
On the above picture, you will notice the two chimneys, and the roof vent. Sizes of these, as viewed from the ground are not obvious. So I did some measurements from the elevation plan I had, and scaled it up to HO.
 |
| An early plan, showing the refreshment room proposed expansion (and elimination of one chimney), was itself removed during the 1980s restoration to heritage condition. But it gives the scale of the chimneys and roof vent. |
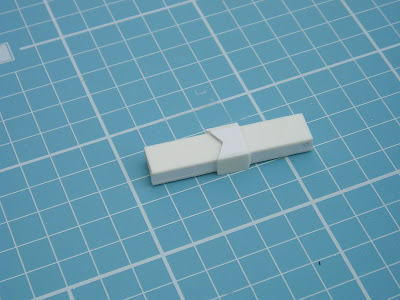
First was the roof vent. Before I started cutting into my ever dwindling corrugated styrene sheets, I drew a diagram, and made a plain styrene vent to check the fit, and size. Little bit of trigonometry helps with the angles
 |
| Roof vent drawing. All dimensions in mm, not what I scribbled. I drew the plan 5 times larger than scale HO |
 |
| Roof vent mockup in the right position |
Next was the chimney. Wagga station has 4 chimneys, 2 are the same, the others vary slightly. First, draw a diagram
 |
| I had to guess one of the dimensions from photos. |
 |
| The first stage of construction was to build an inner tube from 4 pieces of styrene. The wide base above the roof line actually happens a bit later |
 |
| Cut a hole in the roof to suit the tube. |
 |
| Insert the tube into the roof. The construction of the trusses of the roof can be seen from this view |
 |
| View from above shows the chimney in position. Use of a tube not only useful as a handle during detailing, and painting, the tube provides strength, and allows subtle repositioning to get the chimney vertical. |
Next stages are to complete the 4 chimneys, 5 roof vents, the platform gable roof edges, the ridge capping, the rest of the guttering, and downpipes. Then the two "extensions" that are visible in the 2 prototype pictures in this blog post. Painting is then probably going to happen, prior to the awnings and verandas being installed.
Still managing my new-years resolution for at least 30 minutes a day on the workbench. Although I had really hoped to have finished the Wagga building well before now. Until next time.


keep pushing on Rob your doing more than me you will get there
ReplyDeleteThanks For sharing this Superb article.I use this Article to show my assignment in college.it is useful For me Great Work. top roofing contractor md
ReplyDeleteThankyou for your kind words. Good luck with your college education. I have found that making mistakes, and learning from them, is the key. This design has come about through an evolution process of many earlier techniques. Fortunately, my mistakes only cost me time and material, and I won't be sued if my roofs fall down :-)
ReplyDelete