Wagga Wagga station construction - Part 5
The only practical new year's resolutions that I hope to continue well into the new year, is to do at least 30 minutes of modelling each day. Will see how I go. So far, the effort has been worthwhile
 |
Part of the crowd in 1954 assembled to greet the Queen during her vist to Wagga Wagga. The railways played a good part in running specials, collecting school children from around the Riverina. The coaches stored on the goods sidings gives some idea of the number of trains needed
|
The Platform side station walls detailing was carried out the same way as the roadside walls. All were detailed flat on the workbench, and then assembled into sub assemblies.
 |
| The eastern end platform side wall. The two windows were originally doorways, but I had earlier made a decision to model the current heritage design, so I had no choice |
 |
| Roadside and Platform main entrances were almost mirror images of each other, the roadside has "keystones" which were absent on the platform side. However, I had assumed that was the only difference. But I was mistaken. |
 |
| Platform side entrance doors are more spread apart than .... |
 |
| ...the roadside entrance doors which are closer together |
This was a whoopsie. And a close inspection of the plan also shows this. I pondered a while to think how I could correct the error. I could not come up with a simple fix. And I didn't want to construct another wall - So, as the platform side is not visible from normal viewing angles, I simply decided I could live with the error.
 |
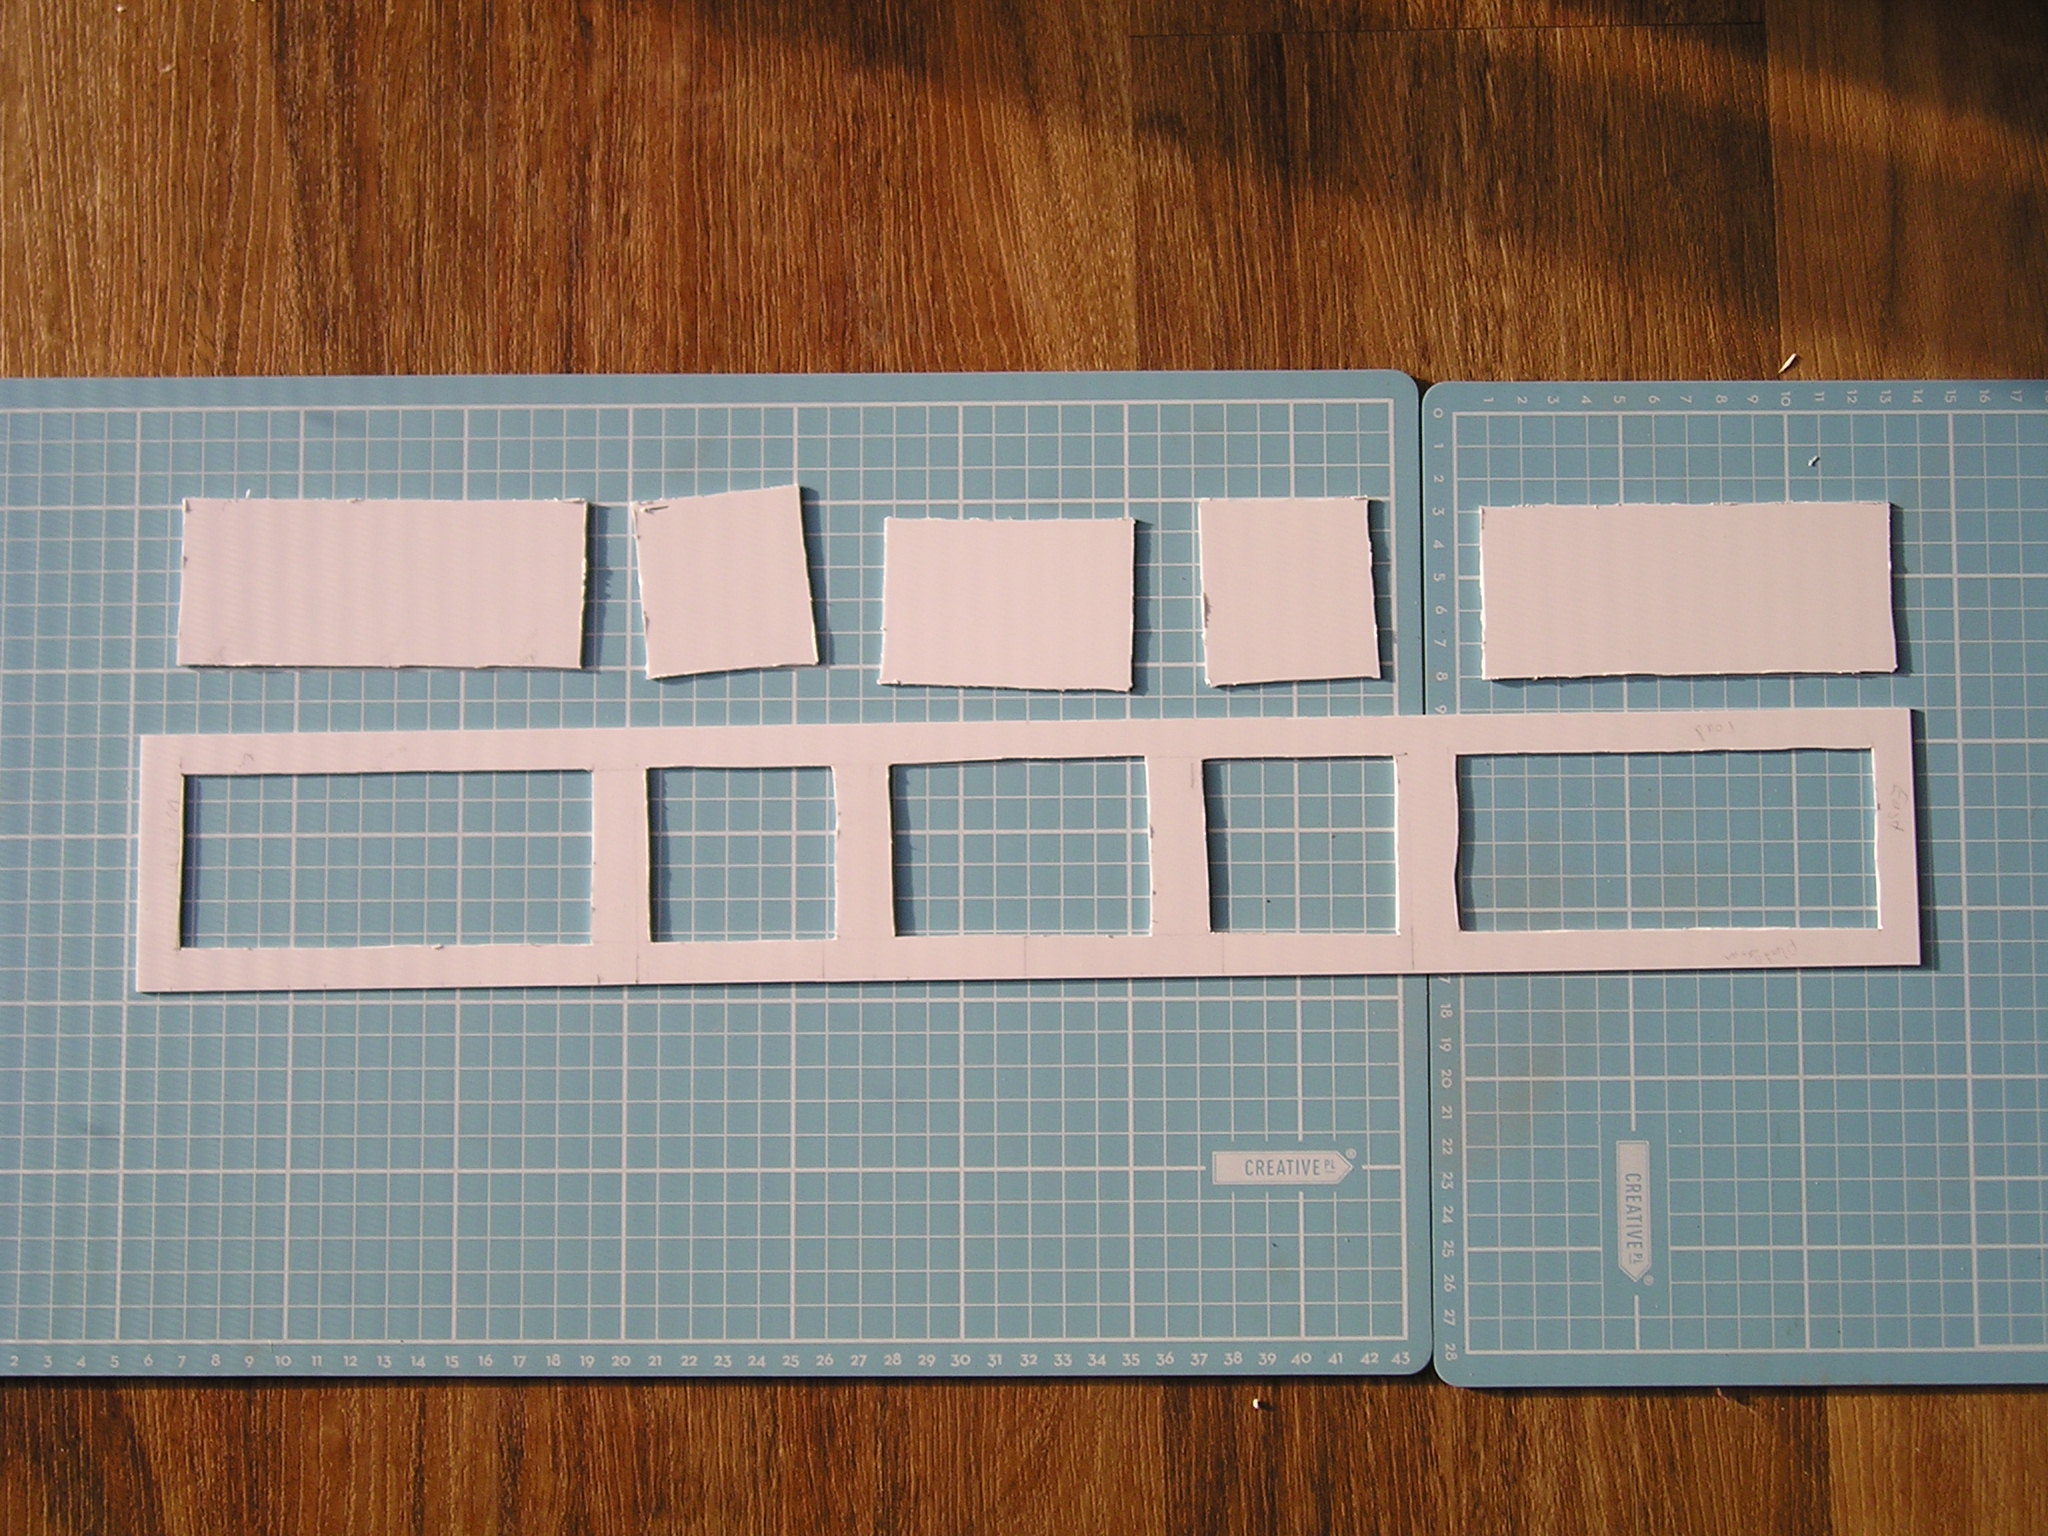
I had cut out a 530x77mm sheet of styrene to fit the base of the station. To allow for a later access to the roof (I am thinking I will attach the roof with screws), and to give me a source of styrene for the window/door inserts, it made sense to me.
|
 |
| The 3 main subassemblies now glued to the station |
 |
| On the last blog post, I hinted that I had a problem with the triangle roof ends, in that the walls had warped forcing the triangles out of plumb. (and I thought these were braced enough to prevent this) My original idea was that the roof would simply slip behind them. This wasn't now going to happen. So, now was the time to take them off, which was a little tricky. The triangles will now become an integral part of the roof |
 |
| The large platform arched doorways under construction. |
 |
| Now that the station is in one piece, I needed a base to put it on. This floating floorboard was convenient for now. The roadside front walls have been attached. I used sheet styrene for strengthening the 3 subassemblies which you can see in this view |
 |
| The platform arched sections now attached. |
 |
| Platform side view from above. |
Next stage will be to add the roof. I hope this will be a lot faster than the walls
Just before new year, I went down to the Junee Roundhouse museum, renewing my membership, and purchased the latest A5 booklet on the Tumbarumba branch. It is titled "Wagga Wagga to Tumbarumba Railway - an era of change". It has a red cover. Very similar in style to the earlier booklets by the Tumba Rail group, showing a collection of recently acquired photographs - some I found most interesting from a modelling viewpoint. I believe the booklet is also available for sale at the ARHS bookshop.
Until next time, build a model or two.


Coming along nicely Rob.
ReplyDeleteNice start to 2021 Rob. Hope the year is kind to you.
ReplyDelete