Perway shed at Ladysmith - a "simple" scratchbuilding project
During the openday at Ladysmith on February 11th, I took an opportunity over the lunch period to wander down to the perway shed, and measure it for a future model.
 |
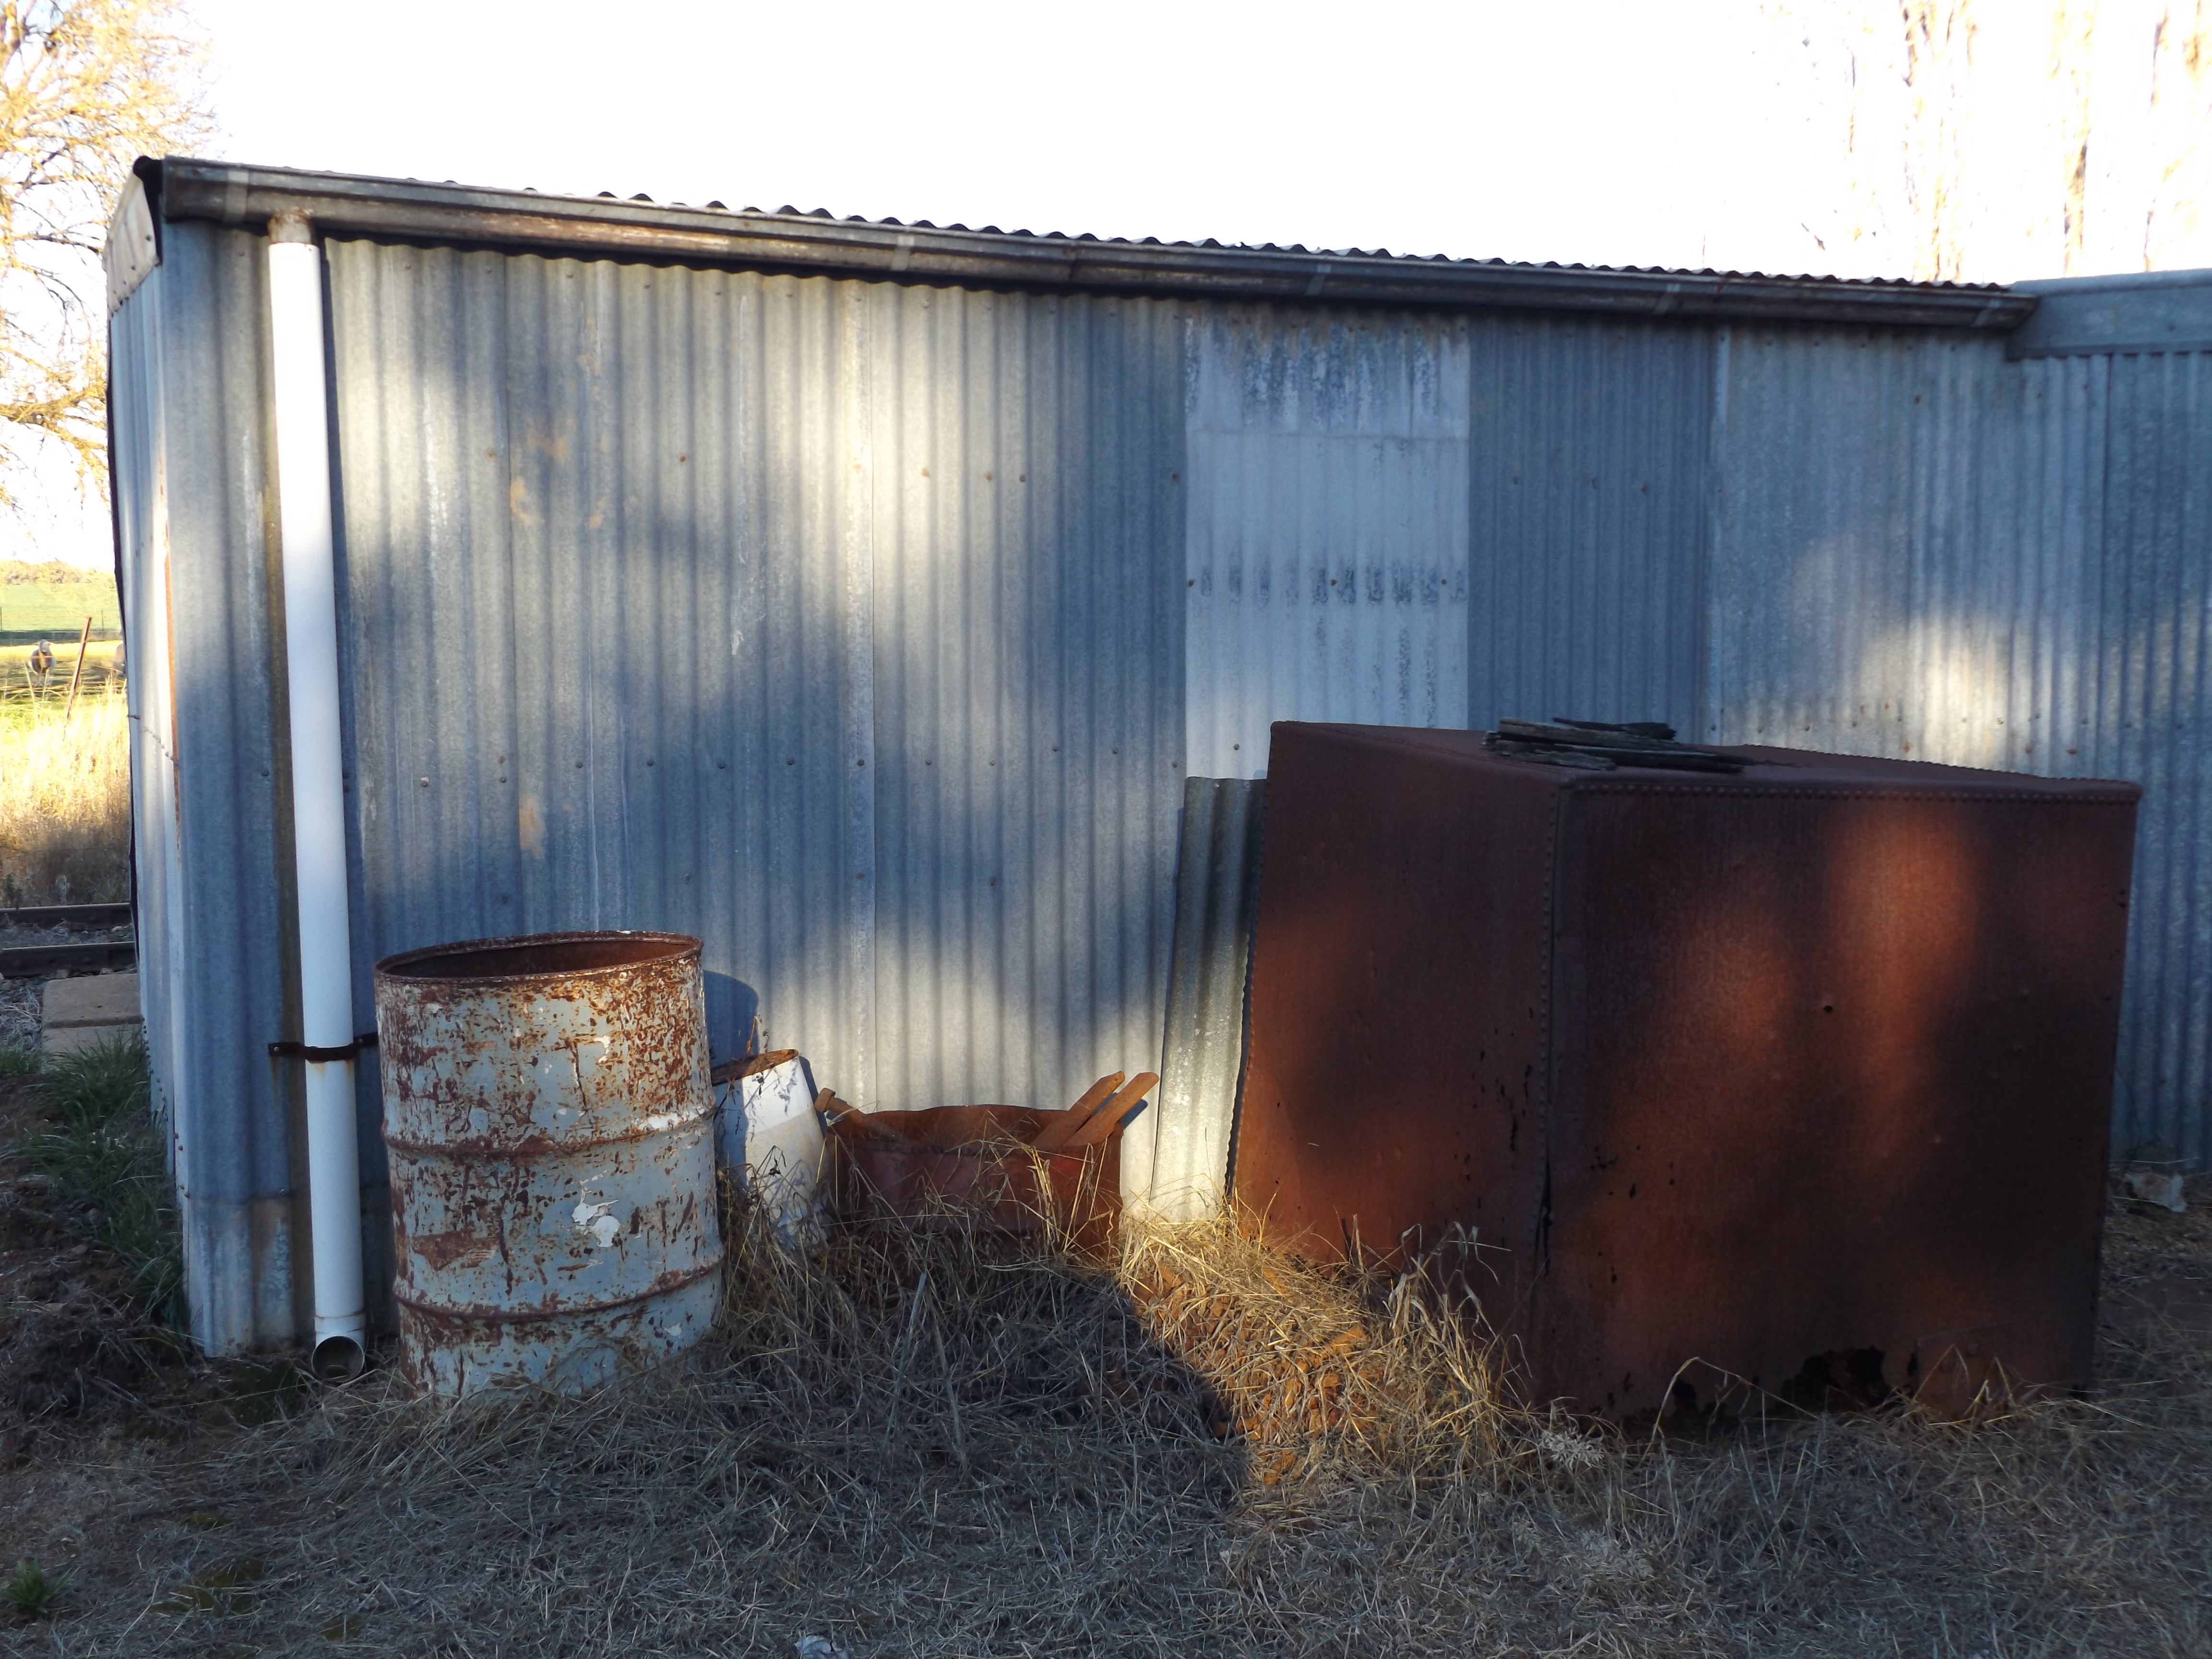
| Ladysmith Perway shed |
Permanent way sheds were once a common sight on NSW railways. They contained equipment used by the track gangs for repair of the line. With the reduction of branchlines, use of hi-roller work trucks with decendable railway wheels, and the large track mounted resleepering, and tamping machines, the humble perway shed along the line is no longer used, and most have been removed, leaving just a concrete pad behind. Fortunately, Ladysmith is not one of them
The line to Tumbarumba contained a number of perway sheds. Whilst I haven't done a complete survey, I have seen the concrete pads at Humula and Coreinbob.
 |
| Coreinbob also had a small gangers shed. The small culvert on the approach to the former shed is a nice detail |
 |
| The 2 sets of rails in the Humula perway shed concrete pad can still be seen. The size of the pad looks similiar to Ladysmith |
Ladysmith Perway shed in pictures
A previous open day, the Perway shed was open, and I managed to take some pictures, which I will share here.
 |
| The perway shed fits in the "neck" between the silo loop, and the station loops |
 |
| Note the internal door support frame design. |
 |
| A telephoto picture has the station much closer to the shed. It is a lot further away. |
 |
| Lots of details of clutter hiding in the grass |
 |
| The doors opens to the right, the other to the left. |
 |
| The closest water tank does not appear to be plumbed in |
 |
| A better idea of how far away the station is |
 |
| Sleeper details in front of the Perway track entrances. |
Interior
I was not planning to model the interior, but these pictures could be the basis of a detailed model. These images were taken many years ago
Modelling
I transfered my field measurements to a drawing - using a calculator to adjust the metric sizes down to 1:87 for HO scale.
The next step was to find some corrugated styrene, and cut out
 |
| Keen eyed viewers will notice I made a mistake - and one of the rear wall sections was cut incorrectly. So I spliced in another piece from the leftover scrap, and smoothed down the join. The join should disappear under paint, and being at the rear, probably won't be seen anyway. If I was planning a contest model, it would have been replaced |
 |
| Joints were reinforced with 0.040 square styrene |
 |
| The floor was made from a piece of 0.040 thick styrene sheet. The flangeways for the trikes were cut (gouged) out by hand, and a section of 0.010 x 0.040 styrene strip added for the future rail head. The positioning for the superstructure uses strips of 0.040 square styrene strip |
 |
| Framing for the inside of the doors made with 0.020 square styrene. Fiddly. The prototype doors just had thin corrugated iron over the frames, which also would have shown as corrugations on the inside. A contest model would have had the door frames as soldered brass, and used foil for the corrugations. But compromises have to be made. |
 |
| Rear downpipe made from styrene rod, and cut at angle, and rejoined for the 45 and 90 degree bends. I covered this technique a while ago |
 |
| I made another compromise - the Ladysmith Perway shed has a translucent roofing sheet above the RHS trike bay for interior natural light. I haven't yet found clear corrugated styrene, so to simulate that would have been a challenge |
 |
| After adding the roof edging, gutters and downpipes, the model is now ready for the paint shop. Adding all the styrene now, makes the model stronger than trying to add these details later. And as the floor is removeable, so painting the inside will be straight forward. |
In summary.
I had forgotten how much I enjoyed making a simple model. Not only will the perway shed be completed quickly (unlike Wagga station that took 2.5years), I don't have to worry about it meeting contest standards. And I will use my plans for Humula's perway shed. Sure, using CAD, and 3D printing would be faster as I am making more than one model, and I get that. (Note if anyone wants to use my plans to make a 3D model, that is fine, please drop me a note).
Painting is the next step, and then I will ponder how to make the doors moveable/openable, or just glue them open in place. I have a Lloyds trike model somewhere for the interior. The water tank and stand are also required
Until next time, build a model or two (or more). You will find it relaxing


Field trip and a new model all in the one post? Well done you!
ReplyDeleteI was hoping to have painted it too. Thanks Phil for your continuing interest
DeleteNice work, Rob. Like how you include so many prototype pictures with your modelling. Impressed by your ongoing progress. The model will be a nice asset to add to the yard.
ReplyDeleteAppreciate the comment Brad. I like to have pictures, rather than text on my blogposts, as I think visualizing the prototype makes a better model, and hopefully encourages others. Yes, the perway shed will be a good addition for Ladysmith. Not finished with the structures, the weighbridge hut, and signalbox are next. And I still haven't completed the silo.
Delete